
The absolute best light for video conference calls is always going to be soft, diffused light that's positioned right in front of you. This simple setup gets rid of harsh shadows and instantly gives you a more professional, polished look. Whether it's a window letting in natural light or a simple LED panel, getting this one thing right can dramatically improve how you show up on camera.
Why Your Video Call Lighting Is Your New Handshake
In a world that’s gone remote, your on-screen appearance has become the modern first impression. We’ve moved past the days of a firm handshake sealing a deal; now, it’s all about how you present yourself through a webcam. And this isn't about vanity—it’s about clear communication and building professional credibility. Bad lighting doesn’t just make you look tired or unprofessional; it can send a subconscious message that you’re unprepared, disengaged, or even untrustworthy.

This isn't just a fleeting trend. The global video conferencing market has been growing at a breakneck pace, projected to leap from around $7 billion in 2022 to well over $13 billion by 2025. This explosive growth just goes to show how central video calls have become in our professional lives, making your digital presence more critical than ever before.
Crafting a Professional Digital Presence
Think of your video setup like a personal stage. A poorly lit stage can completely undermine a brilliant performance, and in the same way, a dim or shadowy video feed will distract from your message. A clear, well-lit image, on the other hand, builds instant trust and authority.
I remember a crucial client pitch where my main competitor showed up as a grainy, backlit silhouette. I had spent maybe five minutes setting up a simple LED light. The client later mentioned that my professional appearance made my entire presentation feel more polished and reliable right from the start. It was a small detail that made a huge difference.
Your lighting does more than just light up your face. It communicates your attention to detail and your respect for the person on the other end of the call. It says you value their time enough to present yourself clearly.
The Psychology of Good Lighting
The impact of good lighting is surprisingly deep and rooted in basic human psychology. When your face is well-lit, it’s easier for the human brain to process. This allows others to read your expressions and non-verbal cues far more accurately, which is essential for building rapport and fostering a genuine connection.
To really get a feel for the visual impact of your setup, think about how the principles of effective home staging are used to transform a space and create an inviting atmosphere. You're essentially doing the same thing: "staging" your personal workspace for an audience.
Learning how to make memorable first impressions in your virtual meetings is a skill that pays dividends in your career. Spending just a few minutes on your lighting is a tiny effort with a massive return.
Understanding the Principles of Great Lighting
Before you rush out and buy any gear, it’s worth taking a moment to understand what makes a light for video conference calls actually work. This isn't about setting up a complex photo studio; it’s about getting a handle on a few core concepts that will let you fix almost any lighting issue you run into. Honestly, mastering these fundamentals is the fastest way to look better on camera.
The first thing to wrap your head around is light quality. A camera sensor is nowhere near as sophisticated as the human eye, and it really struggles with harsh, direct light. This is exactly why that single overhead bulb in your office creates those deep, unflattering shadows under your eyes and nose, making you look tired or even a little menacing.
What you're aiming for is soft, diffused light. Picture the gentle, even glow coming through a window on an overcast day. That kind of light wraps around your face smoothly, softens harsh lines, and creates a far more professional and pleasant image. You can get this with specialized gear, sure, but you can also get it by simply bouncing a regular lamp off a white wall.
The Role of Color Temperature
Ever hop on a call and wonder why you look strangely orange or, even worse, like a sickly blue ghost? That’s all down to color temperature, a fancy term for the "warmth" or "coolness" of a light source, measured in Kelvin (K).
- Warm Light (Under 4000K): This is the yellowish-orange tint you get from old-school incandescent bulbs. It can feel cozy in a room, but on camera, it often makes skin tones look muddy and unprofessional.
- Cool Light (Above 7000K): This is that sterile, blue-tinted light you often find in clinics or industrial spaces. It has a tendency to wash out your complexion and can feel incredibly cold and impersonal.
For the most natural and true-to-life look on camera, you want a light source in the Daylight range (5000K – 6500K). This neutral white light is the closest thing to the sun at midday, and it helps your webcam render colors—especially your skin tone—accurately. Thankfully, many modern LED lights designed for video calls let you dial this in perfectly.
Direction Is Everything
The final piece of this puzzle is the direction your light is coming from. It’s amazing how much of a difference placement makes. If you put a light below your face, you get that spooky "campfire story" effect. Light it directly from above, and you're right back to those harsh shadows we talked about.
The most flattering position for your main light source—what the pros call a key light—is in front of you. You’ll want to place it slightly above your eye level and then move it about 45 degrees to one side of your camera.
This classic placement is a game-changer. It creates soft, natural-looking shadows that give your face dimension and depth, preventing that flat, washed-out look you get when a light is aimed straight at your face from right behind the camera.
Once you understand these three elements—quality, temperature, and direction—you can troubleshoot just about any lighting problem you encounter. For a deeper dive into specific setups, our essential guide to webcam lighting for professional video quality has plenty more advanced tips. Getting these principles right is the key to putting your best face forward on every call.
Crafting Your Ideal Lighting Setup for Any Budget
Let's get practical. You absolutely do not need a Hollywood-sized budget to look professional on camera. Whether you're working with what you've got or you're ready to invest in some quality gear, a great setup is well within your reach.
We'll walk through three different approaches, each designed to give you the best possible light for video conference calls based on the resources you have. The core principles—softness, temperature, and direction—are universal, no matter what tools you're using.
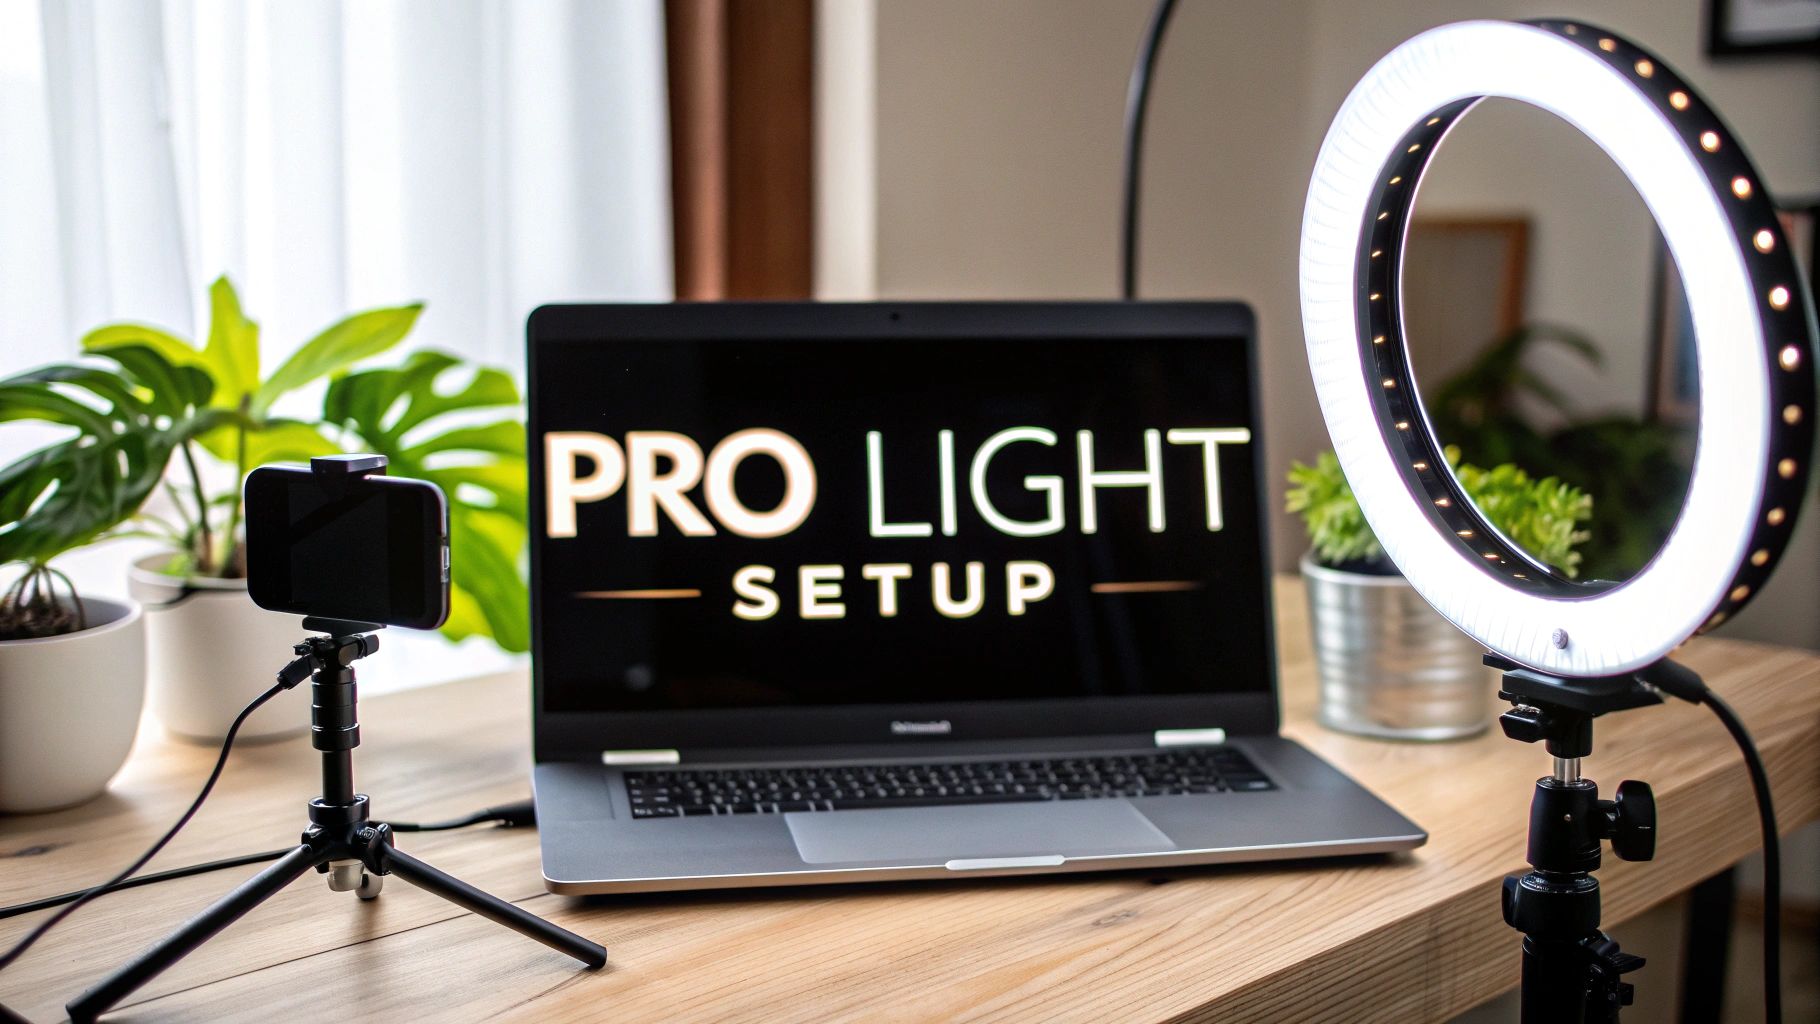
As this visual guide shows, the fundamentals always apply.

Whether you're using a window or a professional key light, the goal is always the same: create soft, correctly colored light coming from the right angle.
The No-Budget Makeover Using Natural Light
Your best and most affordable light source is completely free: the sun. Natural light is soft, full-spectrum, and incredibly flattering. The trick is simply learning how to harness it.
The single most effective change you can make is to position your desk so you're facing a window. This lets that beautiful, diffused daylight wash over your face evenly, minimizing harsh shadows and making you look clear and bright.
Whatever you do, don't sit with a window behind you. This is a classic mistake that forces your camera to expose for the bright background, turning you into a dark, anonymous silhouette.
If direct sunlight feels too harsh, you can easily soften it up. Just hang a simple white sheet or a sheer curtain over the window. This acts as a giant diffuser, scattering the light to create a gentle, shadow-free glow that's perfect for video calls.
The Budget-Friendly Upgrade with Simple Gear
When natural light isn't a reliable option—thanks to weather, time of day, or your room's layout—a small investment can make a massive difference. You don't need complicated equipment; a single, well-placed artificial light can dramatically improve your on-camera presence.
A simple LED panel or a ring light is a fantastic starting point. Both are widely available and offer incredible value. If you're looking for something that blends into your workspace, you might even consider a multi-functional option like a G-Shaped Table Lamp With Speaker, which merges utility with modern design.
But it’s the placement that truly matters. Position your new light source using these guidelines:
- Height: Place the light slightly above your eye level.
- Angle: Position it about 45 degrees to one side of your camera—not directly behind it.
- Distance: Move the light closer to make it appear softer and larger; move it farther away for a harder, more defined look.
This slightly off-center placement creates gentle shadows that add dimension to your face, preventing the flat, washed-out look that a direct-on light can cause. Play around with it until you find that perfect sweet spot.
The Professional Studio Three-Point Setup
For those who want to achieve that polished, studio-quality image, the classic three-point lighting technique is the gold standard. It might sound complex, but the concept is actually pretty straightforward. This method uses three distinct lights to sculpt your appearance and make you pop right off the background.
1. The Key Light
This is your main light source and the brightest of the three. It follows the same placement rules as our budget setup: position it above eye level and at a 45-degree angle to one side of you. Its job is to provide the primary illumination for your face.
2. The Fill Light
Positioned on the opposite side of the key light, the fill light is less intense. Its purpose is to "fill in" the shadows created by the key light, making sure they aren't too dark or distracting. You can use a second, dimmer light for this, or simply use a white foam board to bounce light from your key light back onto your face.
3. The Backlight (or Hair Light)
Placed behind you and aimed at the back of your head and shoulders, this is the light that creates separation. It adds a subtle rim of light that outlines your silhouette, making you "pop" from whatever is behind you and adding a professional sense of depth. This is especially crucial when using a virtual background to avoid that fuzzy, poorly cutout look.
To help you decide which approach is right for you, here’s a quick comparison of the setups we’ve just covered.
Lighting Setup Comparison
| Setup Type | Estimated Cost | Key Equipment | Best For | Pros | Cons |
|---|---|---|---|---|---|
| No-Budget Natural Light | $0 | A window, maybe a sheer curtain | Anyone starting out or with a well-lit space | Excellent light quality, flattering, and free. | Dependent on weather, time of day, and room layout. |
| Budget-Friendly Single Light | $30 – $100 | LED panel, ring light, or desk lamp | Most professionals needing consistent, good-quality light | Affordable, reliable, and offers great control. | Can create some shadows if not positioned correctly. |
| Professional Three-Point Setup | $150+ | 3 separate lights (Key, Fill, Backlight) | Content creators, executives, and anyone needing studio quality | Flawless, professional look with great depth. | More expensive, complex, and requires more space. |
Each of these setups offers a clear path to better video quality. Your choice really just depends on your specific needs, your environment, and your budget.
Adapting Your Lighting for Different Scenarios
Let's be clear: there's no single "perfect" lighting setup for video calls. The ideal approach is always going to shift based on what you're working with. The camera on your laptop, the room you're in, and whether you're using a virtual background all play a huge role.
A built-in webcam has completely different needs than a high-end external camera. Likewise, the harsh fluorescent glare of a corporate office demands a different strategy than the cozy, dim light of a home study. The real skill is learning to adapt your approach to your specific situation.
Lighting for Different Devices
The camera is easily the biggest variable in the equation. Those tiny sensors in built-in laptop webcams are starved for light and will quickly produce a grainy, noisy image if they don't get enough of it.
-
For Laptop Webcams: You need more light than you think. A strong, soft light source aimed at your face is absolutely non-negotiable. A ring light or a small LED panel mounted right on your laptop is often the simplest way to give that little sensor the bright, even illumination it needs to create a clean picture.
-
For External Webcams: Higher-quality webcams from brands like Logitech or Razer have much better sensors. While they still look their best with good frontal lighting, they're far more forgiving. You can often get away with something a bit less intense, like a well-placed desk lamp with a good diffuser.
-
For DSLRs/Mirrorless Cameras: Now we're in a different league. These cameras have massive sensors that perform beautifully in almost any lighting. The game shifts from just getting enough light to actually shaping it. With a DSLR, you can really lean into a three-point lighting setup to create depth and nuance, because the camera is good enough to capture all the subtle interplay of light and shadow.
Conquering Difficult Environments
Every room has its own lighting puzzles to solve. A classic challenge is the corporate office, where awful overhead fluorescent lights cast deep, unflattering shadows under your eyes and nose.
The only way to win this fight is to overpower the bad light with good light. Position a strong key light in front of you, just a bit above your eye level. This powerful frontal light will fill in those harsh shadows from above, bringing a much more natural and professional look back to your face. Of course, lighting is just one piece of the puzzle; for more on the whole picture, check out our guide on creating a professional virtual meeting environment from home.
Mastering Virtual Backgrounds and Green Screens
Using a virtual background or a physical green screen adds a whole new layer of complexity. If you want it to look believable—not like a fuzzy, glitching mess—you have to light yourself and your background separately.
The most common mistake people make is trying to light themselves and their green screen with the same light source. This causes light to spill onto the background, which completely confuses the software trying to separate you from the scene. It’s what creates that amateurish, shimmering halo effect around your head and shoulders.
To get a crisp, clean key, you need two distinct lighting setups. First, get even, flat lighting across your entire green screen—use at least two lights to kill any shadows. Then, set up your separate key and fill lights to illuminate yourself.
This two-part technique creates a clean separation that allows the software to generate a sharp, professional-looking composite. Don't underestimate how much this matters; poor lighting can cut participant engagement by up to 30%. It’s no surprise that over 67% of companies reported upgrading their video conference gear in 2023 to improve clarity and presence.
Solving Common Video Lighting Problems
Even after you’ve put together a decent lighting setup, frustrating little issues can still pop up. The good news? Most of these common problems have surprisingly simple fixes. We’re going to walk through the most frequent offenders so you can get back to looking sharp and professional on every call.

From distracting glare to shadows that just aren't doing you any favors, a small tweak to your light for video conference calls can make a world of difference. Best of all, most of these solutions take less than a minute.
The Backlit Silhouette Problem
This one's a classic. You're sitting with a bright window or a lamp directly behind you, and your camera turns you into a dark, featureless silhouette. What's happening is your camera is adjusting for the brightest thing it sees—the background—which plunges you right into the shadows.
How to Fix It: The solution is as simple as flipping your setup around. Always face your primary light source. Swing your desk around so you’re looking toward the window, letting all that beautiful, free, natural light hit your face. If that's just not possible, close the blinds behind you and set up a good artificial light in front of you instead.
Unflattering Shadows and "Raccoon Eyes"
Ever notice dark circles under your eyes or a harsh shadow under your nose that you swear isn't there in real life? This is almost always caused by light coming from directly overhead, like that ceiling fan light you never think about. This top-down lighting creates deep, unflattering shadows on your face.
The quickest way to eliminate harsh facial shadows is to bring your main light source down and forward. Your key light should be positioned slightly above your eye level and in front of you, not directly above you.
Distracting Glare on Eyeglasses
If you wear glasses, you know the struggle is real. That distracting ring of light reflecting in your lenses can pull focus from what you're actually saying. This annoying glare is usually caused by a light source—especially a ring light—that’s placed directly in front of your face at eye level.
How to Fix It: It's all about changing the angle. Try raising your light source much higher than your head and angling it down toward your face. This shifts the angle of reflection, so the light bounces away from the camera lens instead of straight into it. Another trick that works wonders is to use two smaller lights and move them out to the sides, at roughly a 45-degree angle, which also avoids those direct reflections.
Skin Tone Looks Unnatural
Does your skin look too orange, maybe a little blue, or just completely washed out? The culprit is probably your light's color temperature. Your camera is trying its best to balance all the colors in the frame based on the light it's seeing, but it can only do so much.
How to Fix It: Adjust your light to a neutral, daylight setting. Look for a setting or bulb that's between 5000K and 6500K. You'll want to avoid very warm, yellow-hued lights or overly cool, blue-tinted ones. A daylight-balanced bulb or LED panel gives your camera a clean, neutral reference point, allowing it to render your skin tone much more accurately and professionally.
Your Top Video Conference Lighting Questions, Answered
Even with a solid plan, you're bound to run into a few specific questions. I get them all the time. This section is all about giving you quick, practical answers to the most common lighting hurdles people face.
Think of it as your rapid-fire troubleshooting guide.
What Is the Best Color Temperature for Video Calls?
For a look that’s both professional and natural, you’ll want a light source with a color temperature somewhere between 5000K and 6500K. This range is often labeled "Daylight" and it’s the sweet spot for a clean, neutral white light that helps your camera capture skin tones accurately.
Go any lower, and you start looking a bit too orange. Go much higher, and the light can feel sterile and almost blue.
Is a Ring Light My Only Good Option?
Absolutely not. A ring light is a popular all-in-one tool for a reason—it creates a very even, shadowless light that's hard to mess up. But it's far from your only choice. In fact, many pros (myself included) actually prefer using two smaller, diffused LED panels, one on each side of the monitor.
This two-light approach gives you so much more control. You can shape the light to add dimension to your face and completely avoid that tell-tale "ring" reflection in your eyes or glasses. It creates a more dynamic, sculpted look that just feels more professional.
How Can I Improve My Lighting with Zero Budget?
You can make a huge difference without spending a dime. Seriously.
- Face a window. This is your best friend. Natural daylight is incredibly flattering and costs nothing.
- Never, ever sit with a window behind you. This is the fastest way to turn yourself into a mysterious silhouette.
- Get creative with lamps you already own. Take off the lampshade for more power, then try bouncing the light off a white wall or a piece of poster board. This softens and diffuses the light, making it much more pleasant.
- Turn up your monitor brightness. Your screen can act as a subtle fill light, gently reducing some of the shadows on your face. It's a small tweak that can have a noticeable impact.
Where Exactly Should I Place My Main Light?
Your main light source—what we call the key light—should be positioned just a bit above your eye level. Once it's there, move it about 45 degrees to one side of your camera (left or right, your choice).
This angle creates a much more natural look with soft, flattering shadows. It gives your face dimension and stops you from looking flat, which is exactly what happens when light comes from directly overhead or, even worse, from below.
At AONMeetings, we believe your professional presence is non-negotiable. Our secure, browser-based platform is built to ensure you show up clearly and confidently in every single meeting, with HD video quality that makes all your lighting efforts shine. Discover the AONMeetings difference today.