
The fastest way to check your mic is usually right within your computer's sound settings—it's a simple way to see if you're getting any audio signal at all. But for a real-world test, I always recommend using an online tool that records and plays back your voice. This is the only way to know exactly how you sound to everyone else, and it can save you from a major audio headache during an important call.
Why Pre-Flight Mic Checks Are Non-Negotiable

We’ve all been there. You’re about to kick off a big presentation or join a must-win client call, and then the dreaded message pops up in the chat: "We can't hear you." That moment of panic, followed by frantic troubleshooting, can completely derail your momentum and make you look unprepared. The crazy part? It's almost always avoidable.
There’s a world of difference between a microphone that’s simply plugged in and one that's actually working well. Just because your computer recognizes the device doesn't mean your audio is clear. I’ve seen it all—mics that are too quiet, muffled, or picking up every distracting sound in the room.
Shifting from Reactive to Proactive
The goal here is to get out of the last-minute-panic business and get into the habit of proactive preparation. A quick "pre-flight" check takes less than 60 seconds, but it saves you from those awkward interruptions and ensures your message is heard, loud and clear, right from the start.
This isn't just for a career-defining presentation, either. Making this a regular habit is a game-changer for:
- Daily Stand-ups: Keep the meeting flowing smoothly without any team member getting sidelined by tech issues.
- Podcast Interviews: Protect the final audio quality and avoid hours of painful post-production editing.
- Client Consultations: Maintain a sharp, professional image when first impressions really count.
And for more complex events, like those using multi-channel wireless microphone systems, these checks aren't just a good idea—they're absolutely essential to avoid a live audio meltdown.
Before we dive into the step-by-step methods, here's a quick checklist you can use for a rapid-fire test before any call. It covers the bare essentials to catch common problems before they start.
Quick Microphone Test Checklist
Use this checklist for a fast, essential microphone check before any important call or recording session. It covers the basics to quickly identify common problems.
| Check | What to Look For | Common Issue |
|---|---|---|
| Physical Connection | Is the cable securely plugged in? Is the mute button off? | Loose USB/audio jack or an accidental mute. |
| System Selection | Is the correct microphone selected in your OS sound settings? | Computer defaulting to the built-in laptop mic. |
| Audio Levels | Does the input level meter move when you speak? | Volume set too low or an application-level mute. |
| Playback Test | Does a quick recording of your voice sound clear and natural? | Muffled sound, static, or heavy background noise. |
This table is your go-to for a quick sanity check, but the following sections will walk you through more thorough testing methods to guarantee you’re always coming through perfectly.
The real test isn't whether your computer sees the microphone, but whether your audience can hear you clearly. Playback is the only way to be certain.
Ultimately, knowing how to test your microphone is a fundamental skill in our remote-first world. It turns your audio setup from a potential point of failure into a reliable tool for effective communication. This guide will walk you through simple, effective methods to make sure your voice is always heard.
Before you start worrying about specific apps or websites, the very first thing you should do is check if your computer even sees your microphone. It’s the quickest and most reliable way to troubleshoot. Both Windows and macOS have simple, built-in tools that let you confirm your mic is connected, selected, and picking up your voice. I always think of this as the first line of defense against audio headaches.
The basic idea is to open your sound settings, find your mic in the list, and see if the input meter moves when you talk. It's that simple.

This visual guide shows the fundamental flow for checking your microphone, no matter what operating system you're on. Follow these steps, and you’ll know in seconds if your hardware is working before you get lost in more complex application settings.
Checking Your Mic on Windows
If you're on a Windows PC, your destination is the Sound settings menu. You can get there quickly by right-clicking the speaker icon in your taskbar and selecting it, or just search for "Sound settings" in the Start menu.
Once you’re there, scroll down until you see the "Input" section. You'll find a dropdown list of all your connected microphones. First, make sure the right one is selected—whether that's your headset, webcam mic, or a dedicated USB microphone. Now, just talk. Look for the blue bar under "Test your microphone"; it should jump and wiggle as you speak. If you see that bar moving, you're golden. Windows can hear you.
A common mistake I see all the time is people assuming Windows automatically selects their best mic. It often defaults to a built-in laptop mic, so always double-check that your preferred device is chosen under the "Input" settings.
Verifying Your Mic on macOS
For all the Mac users out there, the process is just as straightforward. Head over to "System Settings" (or "System Preferences" on older macOS versions) and click on "Sound."
From there, click the "Input" tab. You'll see a list of every available microphone. Just select the one you want to test. Right below that list is an "Input level" meter. As you speak, this meter should fill up with solid bars, showing that your Mac is picking up the audio signal. If those bars light up, your mic is working perfectly at the system level.
Of course, having a working mic is only half the battle; getting great audio quality often comes down to the gear itself. For anyone setting up a new recording rig, a solid podcast equipment guide can offer some fantastic insights into choosing the right tools from the start.
This principle of clear audio is just as vital in other settings, like online learning. To see how top-notch audio transforms the virtual classroom experience, take a look at our article on video conferencing for education. A strong audio foundation is a non-negotiable, whether you're podcasting or teaching.
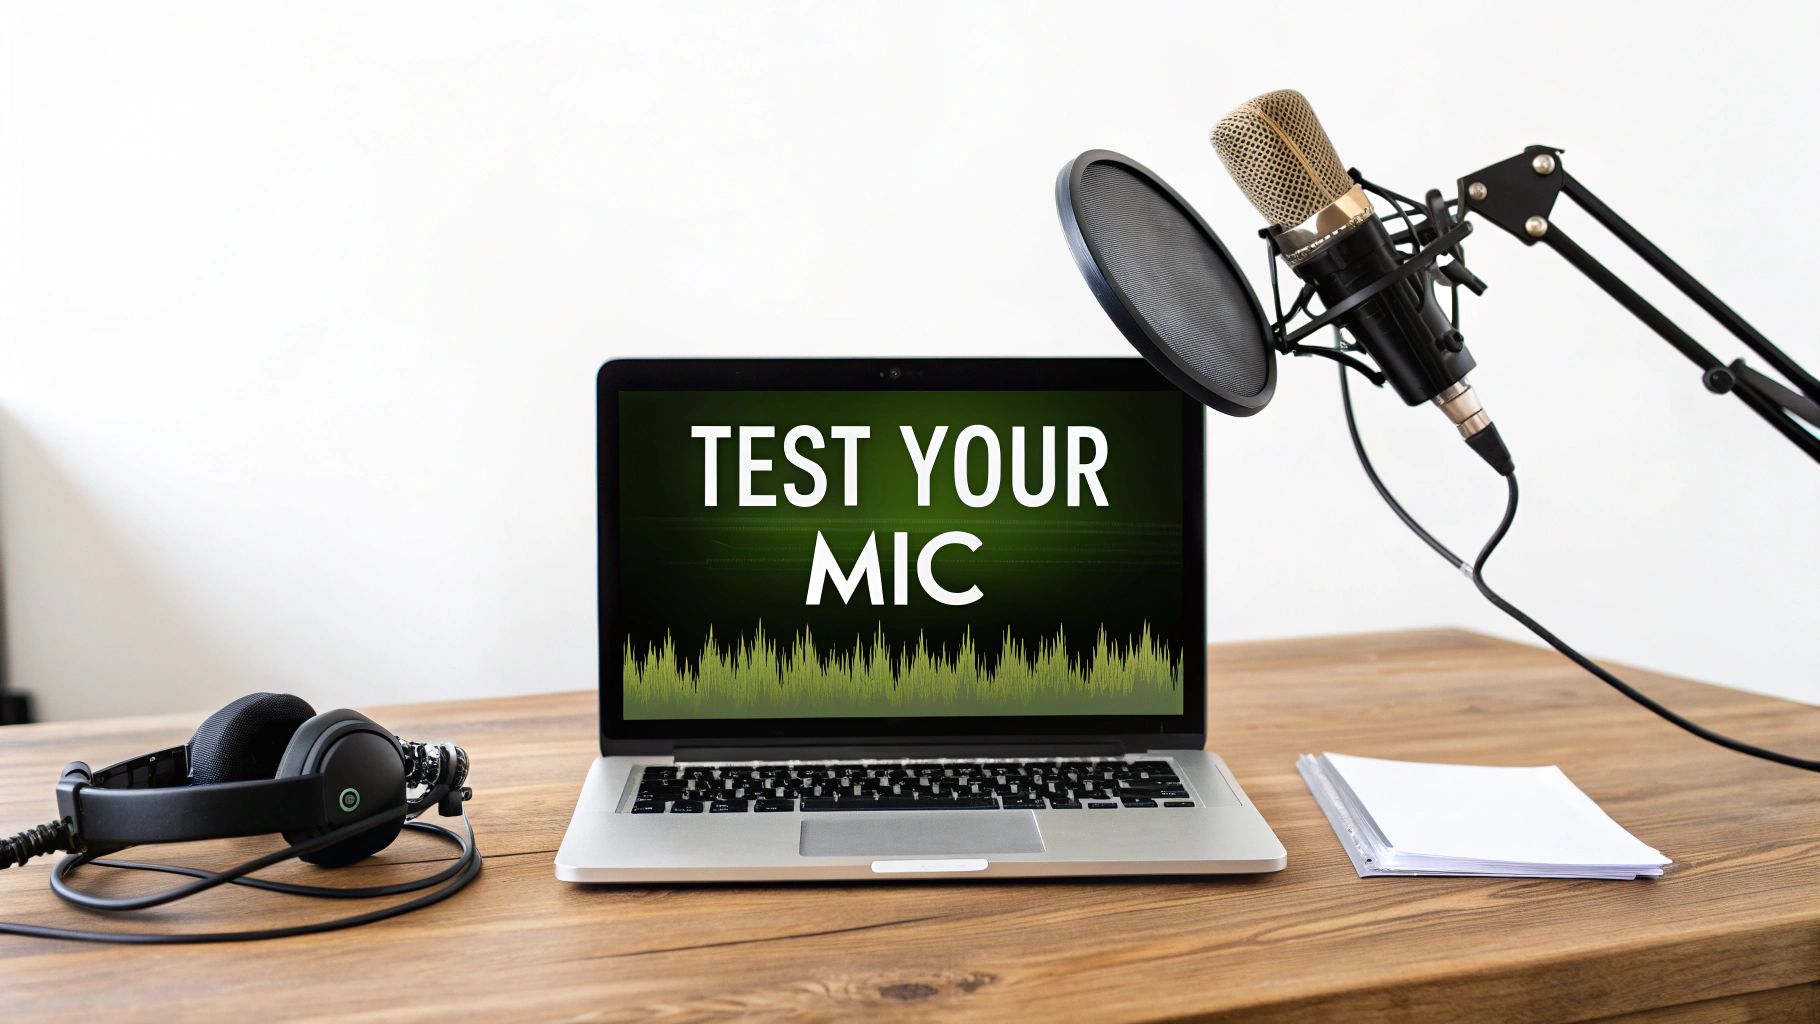
Getting a Real-World Audio Check With Online Tools

Seeing a little green bar bounce up and down in your computer settings is one thing. It confirms your mic is picking up something, but it tells you almost nothing about how you actually sound. It’s a critical distinction that too many people overlook.
That meter can’t hear the subtle hum from your air conditioner. It won’t detect the annoying crackle from a loose cable or the dreaded "robot voice" that signals a weak internet connection. This is where web-based microphone testers become your secret weapon.
These simple online tools offer the one feature that matters most for a true quality check: playback. They let you record a quick audio sample and then hear it exactly as your audience will. It’s the only way to be completely sure your audio is clean, clear, and professional before you jump on an important call.
How to Use a Web Mic Tester
Most online testers, including the one built right into AONMeetings, follow a straightforward process. The first thing you'll need to do is grant your browser permission to access your microphone—this is a standard security step you’ll see everywhere. A pop-up will appear asking for access; just click “Allow.”
From there, you’ll typically see a "Record" button. Click it and start talking for a few seconds. I always recommend saying more than just "test, test, one, two." Try speaking a full sentence in your normal voice, at your usual distance from the microphone.
For example, say something practical like, "Hi, this is [Your Name], and I'm just doing a quick audio check for my meeting."
After you stop the recording, you can play it back instantly. This is the moment of truth.
Listen to your recording with a critical ear. Are your words clear? Is there any faint buzzing, hissing, or popping? This quick playback test is your best line of defense against audio problems that a simple level meter would completely miss.
What to Listen For
As you listen to the playback, be your own toughest critic. A good test goes far beyond just checking if the mic is on.
- Clarity: Are your words crisp and easy to understand, or do they sound muffled and distant?
- Background Noise: Can you hear distracting sounds? Think about the whir of a fan, the clicking of your keyboard, or people talking in another room.
- Volume: Is your voice too quiet, forcing others to crank up their volume? Or is it too loud and "peaking," which creates a distorted, unpleasant sound?
- Consistency: Does your audio drop out, stutter, or glitch at any point? This often points to a connection or driver issue.
Answering these simple questions gives you a complete picture of your audio quality. Taking a minute to do this ensures that when you join a critical call on a platform like AONMeetings, you know for a fact that your microphone isn't just working—it's working well.
Is Your Microphone Test Actually Telling You the Truth?
So you've run a microphone test and the results are in. But how much can you really trust them? It's one thing to do a quick level check, but in a professional setting, a false positive or negative can be a real headache. The whole point of a test is to get results you can count on.
What if the problem isn't your microphone, but the test itself? It happens more often than you'd think. You have to validate your entire testing setup. Think of it like a science experiment—you need to control the variables. If your test speaker is already crackling, you might end up blaming a perfectly good mic for sounding awful.
Verifying Your Test Environment
In the world of professional audio, engineers live and breathe a concept called Total Harmonic Distortion (THD). It’s a fancy term for measuring how much unwanted noise or distortion an audio device adds on its own. A high-quality test setup should have a THD close to zero. They also use what are called "reference microphones"—incredibly accurate, calibrated devices—to make sure the test signal is pristine before even plugging in the mic they want to evaluate.
The goal of any accurate test is to isolate the microphone as the only variable. If you hear distortion, you need to be 100% certain it's coming from the mic being tested—not from the speakers playing the sound or the software running the test.
You don’t need a full-blown audio lab to apply this principle. Before a big meeting, just play a high-quality song you know well through your headphones or speakers. If everything sounds crisp and clear, you can be reasonably sure your playback gear isn't the culprit. It’s a simple but effective sanity check.
This same principle of ensuring quality extends to the security of your calls. Just as you want clear audio, it's smart to understand the fundamentals of video conferencing security to protect the integrity and privacy of your conversations.
This isn't just theory. A 2022 analysis from National Instruments measured the THD of their test speakers at high volumes, confirming it stayed below a razor-thin 1%. This incredibly low distortion level proved their equipment was a reliable baseline; any significant distortion they heard afterward would clearly be from the device being tested. You can read more about their approach to validating audio test systems on ni.com.
Solving The Most Common Microphone Problems

So you've run a test, and everything looked good. But when it's go-time, your audio is suddenly a mess. It's a frustratingly common scenario, but the fix is usually simpler than you think. Let's walk through the usual suspects I see time and time again.
Before you start digging into complex software settings, always check the obvious. Is the mic plugged in securely? Is the hardware mute button on your headset or microphone accidentally switched on? I can't tell you how many support calls I've been on where this simple check solved the entire problem in seconds.
Addressing Audio Quality Issues
If people are complaining that you're too quiet, the culprit is almost always the input gain (or volume). You can usually find this setting in your computer's sound controls or right inside the AONMeetings app. Bumping that level up a bit should make a huge difference.
On the flip side, if you're dealing with echo or a lot of distracting background noise, your environment is the first place to look. Hard surfaces like bare walls, wood floors, and large windows are notorious for bouncing sound around. A few quick fixes can work wonders:
- Soften the room: A simple area rug, some curtains, or even a few decorative pillows can absorb a surprising amount of echo.
- Get closer to your mic: This one is key. Moving closer allows you to turn your input gain down, which means the mic will pick up less of that ambient room noise.
That dreaded "robot voice" or distorted, choppy audio? That's rarely a microphone problem. More often than not, it’s a sign that your internet connection is struggling to keep up. When bandwidth is unstable, audio packets get lost, and the result is garbled sound.
Getting a handle on your network's capabilities is crucial for clear audio. We cover the ideal speeds in our guide to https://aonmeetings.com/video-conferencing-bandwidth-requirements/. If you've tried all the hardware and software tweaks and still sound like a Dalek, your network is the next thing to investigate. For a deeper dive into audio improvement, exploring professional resources on how to enhance audio quality can offer more advanced techniques.
Your Top Mic Testing Questions, Answered
Even when you follow all the right steps, some mic issues can be real head-scratchers. Let's tackle a few of the most common questions that pop up when you're trying to get your audio just right. Think of this as the troubleshooting guide I wish I had when I first started.
It's a classic scenario: your microphone works perfectly in your computer's sound settings, but the moment you jump into a browser-based meeting, it's dead silent. Don't worry, your mic probably isn't broken.
Why Does My Mic Work in One App but Not Another?
Nine times out of ten, the culprit is permissions. Modern operating systems and web browsers are really protective of your privacy, which is great, but it means you have to give each app explicit permission to use your microphone.
If you’ve ever accidentally clicked “Block” on that little pop-up when a site like AONMeetings asks for mic access, that’s your problem right there. Your browser will remember that choice and keep the mic muted for that specific website, even if it works everywhere else.
To fix this, you just need to dive into your browser’s settings. In Chrome, for example, you can navigate to "Privacy and security," then "Site Settings," and find "Microphone." From there, you can see a list of sites you've blocked and switch AONMeetings to "Allow." This simple permissions check solves the problem 90% of the time.
Here's the key thing to remember: a system-level test and an application-level test are two different beasts. Getting a green light from your OS is just step one. You always have to make sure the specific app or website you're using has permission, too.
How Often Should I Bother Testing My Microphone?
For most people, a quick check right before an important call is all you need. It takes 10 seconds and saves you from that awkward "Can you hear me now?" dance.
However, if your work depends on crystal-clear audio—maybe you host webinars, record podcasts, or lead high-stakes client presentations—you should be more proactive. I personally recommend doing a quick playback test at the start of every workday.
This habit isn't just about catching total failures. It helps you notice the small things, like a gradual decline in quality or a new background hum, before anyone else does. It’s the difference between reacting to a problem and preventing one altogether, ensuring you always sound professional.
Ready for flawless audio in every meeting? AONMeetings offers a browser-based platform with built-in testing tools, so you can join every call with confidence. Start your free trial today at AONMeetings.com.
2 comments on “How to Test Your Microphone The Right Way”