
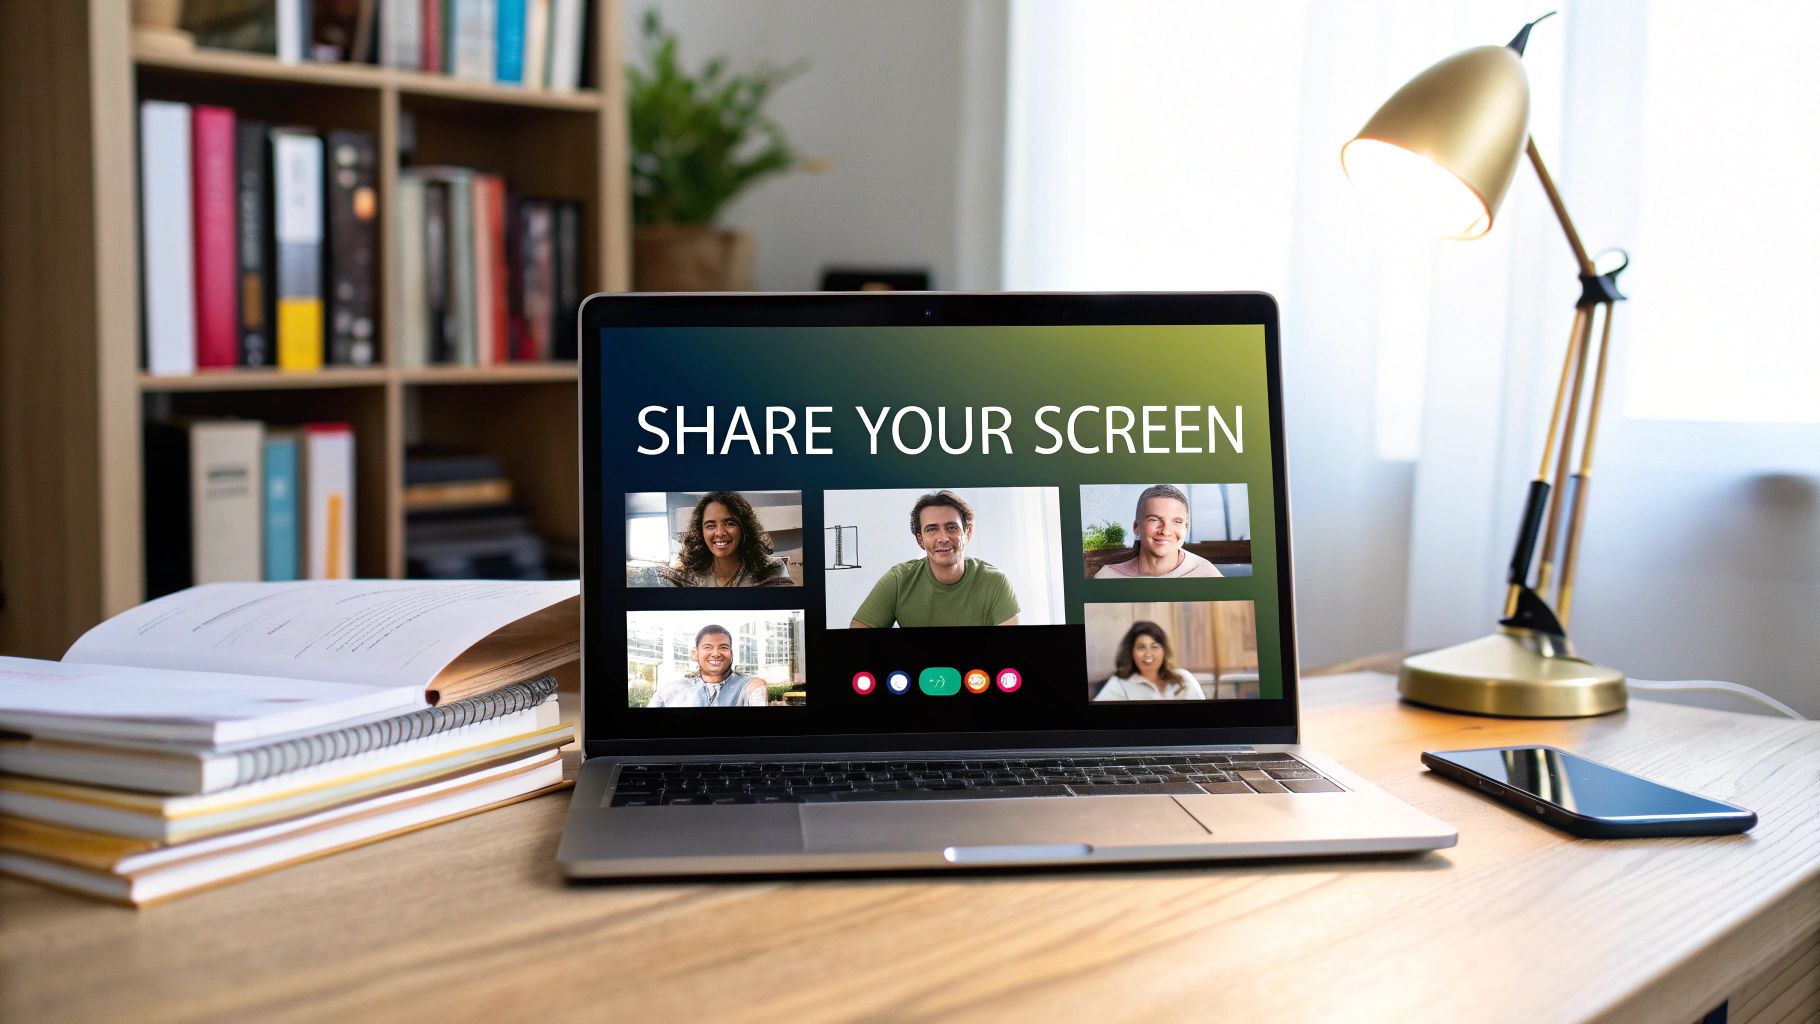
Sharing your screen in a meeting is straightforward—just hit the 'Share Screen' button in your control bar and pick what you want everyone to see. Simple, right? But the real art isn't in the how, but in the what. Choosing between your entire desktop, a single application, or a specific browser tab can make all the difference in how professional and focused your presentation feels.
Mastering the Basics of Screen Sharing
Knowing how to properly share your screen is more than a technical skill; it's a core part of modern virtual communication. It's what turns a standard audio call into a dynamic, visual collaboration. Think about it: you can walk a client through a product demo, troubleshoot a teammate's technical glitch, or work on a document together in real-time.
The reliance on this feature has exploded. The global screen sharing market is on track to hit a staggering USD 1,272.5 million by 2033. That number alone shows just how essential this tool has become for businesses everywhere.

As the data shows, a massive 76% of remote teams count on screen sharing daily. It’s the feature that keeps everyone on the same page, boosting engagement and making sure communication is crystal clear, no matter where your team is located.
Choosing Your Screen Share Option
Deciding what to share is a critical choice that balances clarity with privacy. To help you pick the right option for the right situation, here’s a quick breakdown of the most common modes.
| Sharing Option | Best For | Key Consideration |
|---|---|---|
| Entire Screen | Presenting workflows that involve switching between multiple applications. | Exposes everything on your screen, including notifications, personal files, and open tabs. Use with caution! |
| Application Window | Focusing on a single program, like a PowerPoint presentation or a software demo. | The safest and most professional choice for most situations. It keeps the audience focused and your privacy intact. |
| Browser Tab | Sharing content from a single webpage, like a report or a live website. | Ideal for web-based demos, but you can’t navigate away from that tab without stopping the share. |
Each option has its place, but as a rule of thumb, defaulting to a single application window is usually your best bet for a polished, professional presentation.
Entire Desktop vs. a Single App
Let’s dig a little deeper into this. Sharing your entire desktop can be great if you need to seamlessly jump between a spreadsheet, a slide deck, and a browser. It offers the most flexibility. However, it’s also the riskiest. A stray notification from your personal email or a messy desktop full of files can instantly distract your audience and look unprofessional.
Pro Tip: I always recommend defaulting to sharing a single application window. It completely walls off everything else on your computer, so you can present with confidence, knowing that no embarrassing pop-ups or private information will accidentally appear on screen.
By selecting just one app, you guarantee your audience sees only what’s relevant. This focused approach is a fundamental part of effective virtual teamwork. If you want to explore this idea further, take a look at our guide on the power of screen sharing in virtual collaboration.
Setting the Stage for a Flawless Share
A truly professional presentation starts long before you ever click the "Share Screen" button. It’s not just about closing a few extra tabs; it’s about intentionally curating your digital environment for your audience. A quick pre-flight check ensures your session is smooth, focused, and free of any embarrassing interruptions.

First things first, clean up your desktop. A cluttered screen packed with personal files and random folders is distracting and can look unprofessional. I always recommend moving any non-essential items into a temporary folder to present a clean, organized backdrop. It’s a small detail that makes a big difference.
Next, get all your materials queued up. Have every browser tab, document, and application you'll need open and ready to go. This simple bit of prep work gets rid of those awkward pauses and "dead air" while you hunt for a file, which helps keep the meeting's momentum going strong.
Create a Distraction-Free Zone
Silencing notifications is absolutely non-negotiable. Nothing derails a presentation and compromises your privacy faster than an unexpected email preview or a personal chat message popping into view.
Before you share, make sure you:
- Enable "Do Not Disturb" or "Focus Mode" on your operating system. This is your first line of defense.
- Quit unnecessary applications, especially messaging apps like Slack or Teams.
- Silence your phone and move it out of arm's reach. It's easy to get sidetracked by a buzzing phone, even if it's on silent.
To present with total confidence, you need to know your sessions are private and protected. I always tell people to brush up on secure screen sharing practices. This knowledge is fundamental.
Finally, think about what your audience is seeing. Take a moment to check your screen resolution. This ensures your content is crisp and readable for everyone, no matter what kind of device they're using. If you have an ultra-wide or high-resolution monitor, consider temporarily lowering it to a more standard setting like 1920×1080. This one simple trick prevents your shared screen from appearing too small or distorted for others, guaranteeing a clear view for every single attendee.
Unlocking Advanced Sharing Features
Once you've got the hang of the basics, it's time to start sharing your screen like a pro. Moving beyond a simple broadcast can completely change the dynamic of your meeting, turning a one-way presentation into a genuinely interactive and collaborative session. These advanced features are specifically designed to pull people in and make virtual collaboration feel much more like you're all in the same room.
Think of the annotation tools as your digital Swiss Army knife. During a presentation, you can draw, highlight, or even drop text directly onto your shared screen. This is a game-changer for calling attention to a specific data point in a dense spreadsheet or circling a key design element in a mock-up, making sure everyone's eyes are exactly where you need them.
Taking Collaboration to the Next Level
Granting remote control is another powerhouse feature, especially when you need to provide hands-on support or edit something together. Imagine a colleague is stuck on a tricky software setting; instead of talking them through it, you can just take control of their mouse and keyboard to fix the issue yourself. It’s also incredibly useful for co-editing documents or code in real-time, completely getting rid of that painful back-and-forth of sending files.
And if your presentation has any multimedia, sharing your computer audio is an absolute must. If you've ever tried to play a video during a meeting only to have your audience stare back at a silent screen, you know exactly how awkward that can be. A simple checkbox in your sharing settings ensures that any audio from your computer—whether it's from a video, a software demo, or just a sound clip—is streamed directly to your participants with perfect clarity.
The digital whiteboard is your team's shared canvas for creativity. It gives everyone a space to jump in, contribute ideas, sketch out diagrams, and map out workflows together. This is brilliant for those brainstorming sessions that thrive on spontaneous, free-form thinking.
The demand for these kinds of collaborative tools is absolutely exploding. In fact, the peer-to-peer screen sharing market is already valued at around $2.5 billion and is expected to grow by about 15% annually through 2033, largely thanks to the worldwide shift to remote work. You can dig into more of the data in the full peer-to-peer screen sharer market research report. Getting comfortable with these advanced features doesn't just make your meetings better; it puts you right at the forefront of effective digital communication.
Keeping Your Audience Tuned In
Knowing how to share your screen is one thing. Actually keeping people focused on it? That’s the real art. In any virtual meeting, you're in a constant battle against the siren song of a buzzing phone or a fresh email notification. Your mission is to make your screen share more interesting than their inbox.

One of the simplest yet most powerful tricks I’ve learned is to treat your cursor like a laser pointer. Seriously. Don't just let it sit there. Use it to actively guide everyone's attention. Circle that key statistic you’re referencing, underline an important phrase, or physically point to the button you're about to click. This one small change turns a static screen into a dynamic, guided tour.
Narrate Your Every Move
Another game-changer is narrating your actions out loud. Don't just silently click through menus and expect everyone to keep up. Instead, say what you're doing as you do it: "Okay, I'm opening the settings panel now so I can adjust the user permissions." This simple voiceover prevents confusion and makes it easy for everyone to follow along, especially if you have to jump between different windows or apps.
Smooth transitions are also your best friend. Abruptly switching from a dense spreadsheet to a webpage is jarring and can make people lose their place. A quick little bridge statement makes all the difference. Try something like, "This sales data directly impacts our website traffic, which I'll show you right now." It creates a logical connection that keeps your audience right there with you.
A screen share should never feel like a monologue. It's a prime opportunity for a conversation. I always build in deliberate pauses to ask questions like, "Does this process make sense to everyone so far?" or "Any questions on this before I move to the next part?" This simple habit shifts people from being passive viewers to active participants.
If you really want to level up your presentations, it’s worth digging into some user experience design fundamentals. Learning to think from your audience's perspective is invaluable. It helps you craft a presentation that isn't just seen but is actually understood and remembered.
Solving Common Screen Sharing Glitches
Even the most polished presenters hit a technical snag now and then. Nothing kills the momentum of a great meeting faster than a screen share that refuses to cooperate. The good news is that most of these glitches have surprisingly simple fixes. Knowing what to look for can get you back on track in seconds, without your audience even noticing the hiccup.
The most common culprit is the dreaded black screen. You click "share," confident you're showing your killer slide deck, but your audience just sees a void. Nine times out of ten, this is a simple permissions issue. Both Windows and macOS have security protocols that require you to explicitly allow an application, like your browser, to record your screen.
Navigating Permissions and Settings
If you're sharing your screen for the first time, this is almost certainly where the problem lies. Before you start digging into more complex solutions, your first stop should always be your system's privacy settings.
- For macOS users: Go to System Settings > Privacy & Security > Screen Recording. Just make sure your browser (like Google Chrome) is toggled on. If you have to toggle it on, you'll likely need to restart your browser for the change to take effect.
- For Windows users: Head to Settings > Privacy & security and look under App permissions. You'll want to check that your browser has the necessary access to your screen.
Another frequent complaint I hear is, "I'm playing a video, but nobody can hear the sound!" This happens because you forgot to share your computer's audio. When you initiate a screen share in AONMeetings, look for a small checkbox labeled "Share tab audio" or "Share system audio." Ticking that box is crucial—it pipes your computer's sound directly into the meeting for everyone to hear.
Sometimes, the issue isn't a setting but a simple case of an overworked computer. If your screen share is choppy or the video quality is poor, it's a classic sign your computer or internet connection is struggling to keep up. Pro tip: before any important meeting, close down any resource-heavy apps like cloud backups, streaming services, or large file downloads.
Improving Share Quality and Security
The screen sharing software market is exploding, with projections showing it will be worth $715 million by 2025. This rapid growth means developers are constantly working to solve challenges like device compatibility and cybersecurity. For those interested in the broader industry trends, you can discover more insights about screen sharing software on datainsightsmarket.com.
A smooth connection is great, but a secure one is non-negotiable. While you're troubleshooting technical issues, it’s a good moment to brush up on security fundamentals. For a full rundown, our guide on best practices for video conferencing security is a must-read.
When you understand both the quick technical fixes and the security protocols behind them, you can present with total confidence, ready for whatever comes your way.
To help you out when you're in a pinch, I've put together a quick reference table for the most common issues you might face.
Quick Fixes for Common Screen Sharing Issues
This table is your go-to guide for diagnosing and solving those frustrating little problems that can pop up unexpectedly. Just find your issue in the first column and try the solution.
| Problem | Likely Cause | Solution to Try |
|---|---|---|
| Black Screen for Viewers | OS screen recording permissions are disabled for your browser. | Go to your system's Privacy & Security settings and grant "Screen Recording" access to your browser. Restart the browser. |
| No Audio When Playing Video | "Share system/tab audio" option was not selected. | Stop sharing and restart the process. Be sure to check the box for sharing audio before you confirm the share. |
| Laggy or Pixelated Share | Low internet bandwidth or high computer CPU usage. | Close other applications, especially those using the internet (e.g., streaming, cloud sync). If possible, connect via Ethernet. |
| Wrong Screen/Window Shared | Selected the wrong option when initiating the share. | Simply stop the current share and start again, carefully selecting the correct application window or entire desktop this time. |
| Mouse Pointer is Not Visible | A specific setting in your OS or the meeting tool is hiding it. | Check your computer's accessibility settings for cursor options. Some tools also have a specific setting to show/hide the pointer. |
Hopefully, this little cheat sheet saves you from a headache during your next important presentation. A little prep goes a long way
Common Questions About Screen Sharing
Even if you’ve shared your screen a hundred times, certain questions pop up right when you’re about to present. Getting a quick handle on these common concerns helps you stay confident, whether you’re joining from the road or just want to keep your desktop private.

A lot of people worry about presenting effectively when they're not at their usual desk. The good news? Today's meeting platforms are designed for exactly that kind of flexibility.
Can I Share My Screen From a Phone or Tablet?
Yes, you absolutely can. Modern platforms like AONMeetings have robust mobile apps that make it simple to share your screen from any iOS or Android device.
Inside the meeting controls, just look for the "Share Content" button. From there, you can choose to present your entire screen, a specific document, a photo from your gallery, or even a digital whiteboard for some quick brainstorming.
How Can I Avoid Sharing Private Information by Mistake?
This is a huge—and very valid—concern. The best way to protect your privacy is to always share a single application window instead of your entire desktop. It's a simple click that makes all the difference.
This one habit prevents attendees from seeing your email notifications, personal chat messages, or other sensitive files you might have open. I always make it a rule to close any non-essential apps and browser tabs before a meeting even starts. It’s a great extra layer of security.
Choosing to share a specific app window is your best defense against accidental oversharing. It creates a privacy barrier, ensuring your audience only sees what you intend for them to see. This builds trust and keeps things professional.
Does Screen Sharing Use a Lot of Internet Bandwidth?
It definitely can, especially if you're sharing high-motion content or a video. For a smooth, lag-free experience, a stable internet connection is key.
If you ever notice things getting choppy, try switching from sharing your full desktop to just a single application. This reduces the amount of data being sent. Closing other programs that use the internet, like streaming services or large file downloads, will also free up precious bandwidth.
Want to learn more about the basics? Our guide on "what is screen sharing?" is a great place to start.
Ready to elevate your virtual meetings with a secure, reliable, and feature-rich platform? AONMeetings provides everything you need for flawless screen sharing, interactive webinars, and professional presentations—all from your browser. Start your free trial today and discover the difference.