
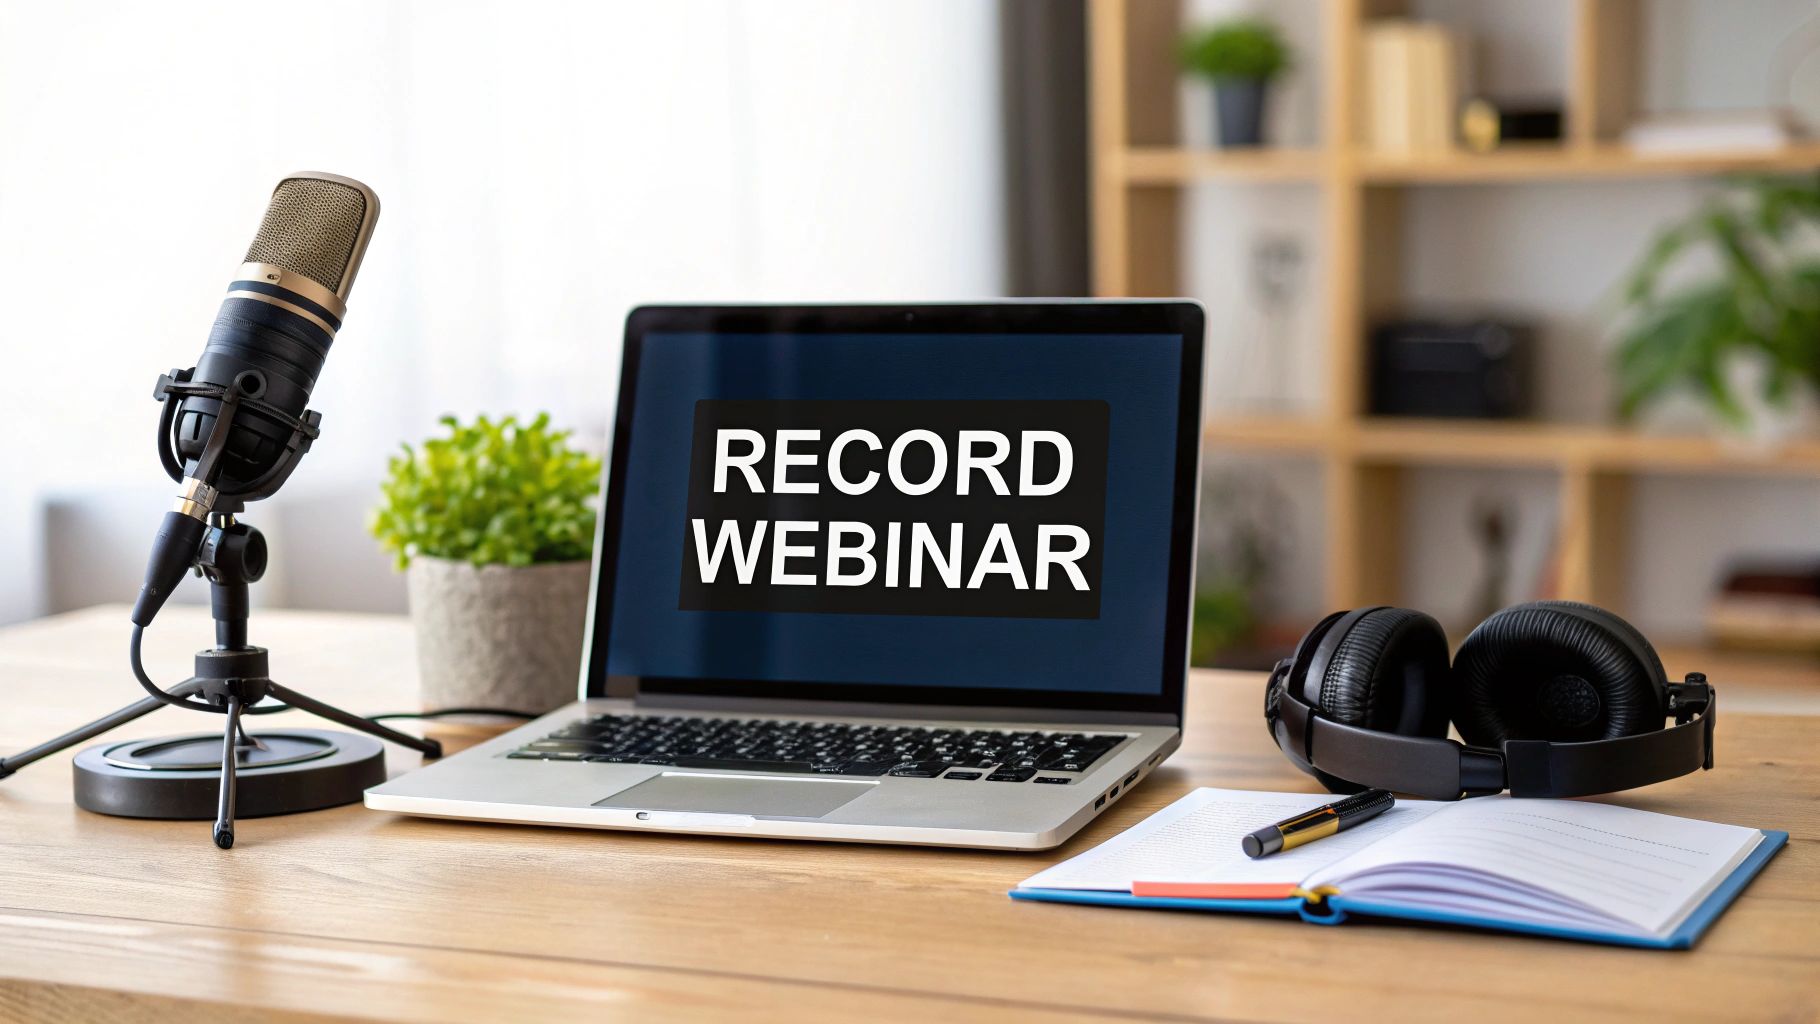
Knowing how to record a webinar is surprisingly simple. Most platforms, including AONMeetings, come equipped with a built-in “Record” button. With just one click, you can save the entire session—video, audio, and screen shares—directly to the cloud or your local computer, turning your live event into a reusable asset.
Why Recording Your Webinar Is a Smart Move

Before we get into the nuts and bolts, let's talk about why this is so important. Recording isn't just a technical task; it's a strategic advantage. A live event is fleeting, but a recording transforms it into a powerful, long-lasting asset.
Think of it as multiplying your return on investment. All the effort you poured into the live session continues to deliver value long after it’s over. This is especially true when you consider that a good chunk of your audience probably can't make it to the live event. Offering an on-demand version is a game-changer for people in different time zones or with packed schedules. It’s a simple way to boost your reach and make life easier for your audience.
A single webinar recording can be the gift that keeps on giving. Instead of constantly brainstorming new ideas, you can mine one high-quality recording for a ton of fresh content. This approach lets you build a powerful content engine without starting from scratch every single time. Here's a quick look at how one recording can fuel your strategy for months.
The Strategic Value of Webinar Recordings
| Strategic Benefit | Real-World Impact | Example Application |
|---|---|---|
| Lead Generation | Captures new, qualified leads long after the live event. | Gate the full recording behind a form on your website. |
| Content Repurposing | Creates a steady stream of marketing content from one source. | Edit short, compelling clips for social media or transcribe the audio for a blog series. |
| Audience Accessibility | Expands your reach to a global audience with varying schedules. | Offer on-demand access so people can watch whenever it’s convenient for them. |
| Training & Onboarding | Standardizes and scales internal training programs efficiently. | Use recordings of expert sessions to onboard new hires or upskill existing teams. |
By repurposing your recording, you’re not just saving time—you're making your content work smarter and harder, reaching different segments of your audience on the platforms they prefer.
Maximizing Your Content's Lifespan
A recorded webinar can become the foundation for a whole ecosystem of content. Instead of letting your hard-earned insights vanish, you can slice, dice, and repackage the recording in countless ways.
Here are just a few ideas to get you started:
- Evergreen Lead Magnets: Put the recording behind a registration form on your site. Boom—you've got a lead-generating machine that runs 24/7.
- Employee Onboarding and Training: Use recordings of internal training sessions to get new hires up to speed consistently and efficiently.
- Social Media Gold: Edit the best parts into short, shareable clips. Pull out key quotes for graphics. You’ll have a month’s worth of content for LinkedIn or Twitter.
- Blog Post and Article Fodder: Transcribe the webinar to create detailed blog posts, articles, or even a mini e-book based on the discussion.
Meeting Modern Audience Expectations
Let's be clear: the demand for on-demand content is massive. The global webinar market is set to blast past $4.4 billion by 2025, a trend fueled by its scalability in SaaS, healthcare, and education.
Recording is at the heart of this growth. In fact, a whopping 63% of webinar views now come from replays or on-demand access. You can learn more about these webinar statistics and what they mean for creators.
By not recording your webinar, you are essentially ignoring the majority of your potential audience. Providing an on-demand option is no longer a "nice-to-have"—it's an essential part of a successful webinar strategy that respects your audience's time and preferences.
Your Pre-Flight Checklist for Flawless Recording
A truly great webinar recording doesn’t just happen by accident. It's the direct result of thoughtful, deliberate preparation. Trying to record without this prep work is a bit like flying a plane without checking the fuel—sure, you might get off the ground, but a smooth landing is far from guaranteed.
Nailing the technical details beforehand is the secret sauce to creating a polished, professional-quality asset that you can use for weeks or even months to come. It's not about being a tech wizard; it's about being thorough.
For instance, while your laptop's built-in microphone is convenient, upgrading to a simple USB microphone is one of the single biggest improvements you can make. It takes your audio from sounding muffled and distant to crisp and clear, which makes a world of difference for the listener.

As you can see, a well-organized setup is the foundation of a professional broadcast. It's not about having the most expensive gear, but the right gear for the job.
Dialing in Your Audio and Video Settings
Before you even think about clicking that record button, take a deep dive into your webinar platform’s settings. In a platform like AONMeetings, this is where you can fine-tune your camera to broadcast in high resolution and test your audio levels to make sure you're not clipping or coming in too quiet.
Here are a few critical settings to check every single time:
- Video Resolution: Always crank this up to the highest quality available. You're looking for 1080p if it's an option. This ensures your video stays sharp and clear when people watch it on-demand.
- Audio Source: Don't just trust the "default" setting. Manually select your external USB microphone from the dropdown menu. I've seen defaults switch to a low-quality webcam mic mid-stream without any warning.
- Recording Layout: How do you want the final video to look? Do you want to spotlight the active speaker, show a gallery view of all presenters, or focus primarily on the shared screen? Decide this before you go live.
A full dry run is absolutely non-negotiable. And I don't just mean practicing your talking points. This is about pressure-testing your entire technical workflow. Start a test recording, share your screen, play a video clip with audio, and then stop and review the footage. Does it look and sound exactly how you imagined? If not, now is the time to fix it.
For a more comprehensive guide that covers everything from promotion to post-event follow-up, this detailed webinar planning checklist is an invaluable resource.
A dry run isn't a rehearsal for your content; it's a stress test for your technology. Discovering that your microphone isn't working five minutes before going live is a preventable crisis.
Optimizing Your Environment and Content
Your physical environment plays a surprisingly big role in the final quality of your recording. Simple tweaks can eliminate the most common distractions. Close the door to block out background noise, silence your phone, and turn off all desktop notifications. You'd be surprised how loud a simple email ping can be on a recording.
Lighting is another game-changer. You don't need a professional studio. A basic three-point lighting setup, which you can create with affordable lamps you probably already own, can eliminate harsh shadows and give you a much more professional look.
Finally, give your on-screen content a once-over, keeping the on-demand viewer in mind.
- Use large, easy-to-read fonts.
- Keep slide text to a minimum—focus on the big ideas.
- Stick with high-contrast color schemes for better readability.
By getting familiar with your platform's features and taking the time to prepare your setup, you set yourself up for a seamless experience—not just for your live audience, but for everyone who watches your webinar for weeks to come.
This is where the magic happens. Once your pre-flight checks are done, actually starting the recording is pretty simple. But the choices you make here will shape your final product. Knowing how do you record a webinar is less about hitting a button and more about the strategy behind it.
In AONMeetings, the process is designed to be crystal clear, giving you confidence as a host. Before you even think about that record button, though, you have a critical decision to make: will this be a cloud recording or a local recording? This single choice impacts everything from storage and accessibility to the final video quality.
Cloud vs Local Recording The Key Differences
Think of cloud recording as saving your work to a shared, secure drive on the internet. It all happens on AONMeetings' servers, not your computer. This is a game-changer if your internet connection is less than perfect. Even if your Wi-Fi stumbles for a moment, the recording continues without a hitch on the server, capturing everything from your co-presenters and their screen shares.
Local recording, on the other hand, saves the video file directly onto your computer's hard drive. This gives you immediate access to the file the moment the webinar ends—no processing time. However, it relies entirely on your computer's horsepower and a stable internet connection. A sudden computer crash could corrupt the file, and a long webinar could eat up a surprising amount of disk space.
Pro Tip: For most people, cloud recording is the safer, more reliable option. It protects your hard work from local hardware failures and internet hiccups, making sure your valuable content is preserved no matter what happens on your end.
Cloud vs Local Recording Choosing the Right Fit
Deciding between cloud and local isn't just a technical preference; it's a strategic one that depends entirely on what you need to do with the webinar recording. This quick comparison should help you nail down the right choice for your situation.
| Consideration | Cloud Recording | Local Recording |
|---|---|---|
| Reliability | High. Unaffected by your local internet or computer issues. | Moderate. Dependent on your machine's stability and resources. |
| Accessibility | Excellent. Easily shareable via a simple link; accessible from any device. | Limited. You must manually upload the large file to share it. |
| Storage | Uses your AONMeetings cloud storage, freeing up your hard drive. | Consumes significant space on your local hard drive. |
| Speed | Requires some processing time before the file is available. | The file is available instantly on your computer after the event. |
So, if your main goal is to quickly share the webinar with attendees, cloud recording is the clear winner. The platform handles all the heavy lifting and gives you a simple link. On the flip side, if you're planning on doing extensive, immediate editing and have a powerful computer, a local recording might get you into your editing software a little bit faster.
For a deeper dive, check out our guide on how to record and share meetings efficiently with AONMeetings, which has even more details on optimizing your workflow.
Executing the Recording Like a Pro
Once you’ve picked your recording type, the mechanics are simple. AONMeetings gives you clear controls to start, pause, and stop the recording.
Don't sleep on the "pause" function—it's incredibly useful. Use it during scheduled breaks or if an unexpected technical issue pops up. This simple action prevents dead air in your final video and can save you a ton of editing time later.
Also, remember to manage your screen layout. Before you hit record, select the view you want your on-demand audience to see. Whether it's the active speaker view, a gallery of presenters, or a laser focus on the shared presentation, setting this beforehand ensures a polished final product. Be mindful of on-screen annotations, too. While they can be great for engagement, make sure they enhance, not clutter, the content you're recording.
Turning Your Raw Recording into a Polished Asset

The live event is over, but your work isn't quite done. Think of the raw recording as your first draft—it's got all the core content, but a little polishing is what turns it into a valuable, on-demand asset. Post-production isn't about becoming a Hollywood editor overnight; it's about making a few smart tweaks that create a much more professional and watchable experience.
Your first, easiest win is to just trim the fat. Every webinar has that slightly awkward dead air at the beginning while you wait for people to join, and maybe some clumsy wrap-up moments. Fire up a simple video editor and snip off those sections. It’s a small change that makes the final cut feel tight and intentional.
Next up, add a branded intro and outro. These can be as simple as a slide with your company logo, the webinar title, and a bit of background music. This simple addition frames your content beautifully, reinforces your brand, and makes the recording feel like a planned production, not just a raw file dump.
Optimizing Your Video for Sharing
Once the edits are locked in, you'll need to export the file. For web sharing, the universal standard is MP4. It gives you the best of both worlds: high-quality video without a massive file size, which means smooth playback whether you're uploading to YouTube, LinkedIn, or your own website.
Generating a transcript is another move you won't regret. It's not just about accessibility for those with hearing impairments, though that’s a huge plus. A full transcript is an absolute goldmine for SEO. Search engines can crawl all that text, helping your webinar get discovered for the exact keywords you talked about. Most modern platforms have automated transcription to make this a breeze.
Post-production is where you transform a one-time event into an evergreen resource. Simple edits, branded elements, and an accessible transcript can dramatically increase the long-term value and reach of your webinar content.
Harnessing AI for Smarter Editing
Let's be honest, the editing process used to be a real slog. Thankfully, AI-powered tools are changing the game. Instead of manually scrubbing through an hour-long video to find key moments, new platforms can do the heavy lifting for you.
For example, the AI features baked into AONMeetings can automatically generate a concise summary of the entire session. It can even create chapters or pull out highlights based on the topics discussed in the transcript. This is a massive time-saver. It lets you quickly repurpose your webinar into bite-sized clips for social media or pull quotes for a detailed blog post. To see more on this, check out our guide on the https://aonmeetings.com/essential-tools-and-techniques-for-webinar-recording/.
Finally, don't forget about storage. Once your webinar is polished and ready, you need a system for managing it. Investing a little time into learning about digital asset management for video will pay off down the road, helping you build a content library that your whole team can actually find and use for future campaigns.
Common Recording Mistakes and How to Avoid Them
Even seasoned pros can make simple mistakes that tank an otherwise great webinar. Knowing how to record is one thing, but sidestepping the little slip-ups that can ruin your final cut is what really makes a difference. These blunders can quickly turn a valuable asset into a digital paperweight.
One of the most classic—and painful—mistakes is just forgetting to hit the record button. It happens more than you’d think. You get caught up in the moment, welcoming attendees and kicking off your presentation, and that one crucial click gets missed. By the time you realize what happened, the best parts of your session are gone for good.
Another common pitfall is relying on your laptop's built-in microphone. Sure, it's convenient, but those mics are notorious for picking up every distracting sound imaginable—keyboard clicks, fan noise, and weird room echo. The result? Audio that sounds distant and unprofessional. Poor audio quality is one of the fastest ways to make someone click away from your on-demand recording, no matter how amazing your content is.
Setting Yourself Up for Success
The best way to deal with these issues is to stop them before they start. Prevention is everything.
For the "I forgot to record" problem, the simplest fix is to give someone else the job. Assign a co-host whose only responsibility is to handle the technical side. Platforms like AONMeetings make it incredibly easy to assign different roles. This person’s checklist should be simple: start and stop the recording, keep an eye on the chat, and manage permissions. That frees you up to focus entirely on your delivery.
Another critical step is getting consent from your presenters and attendees before you start. This isn't just about being polite; in many places, it's a legal must-do.
- Add a Disclaimer: Put a clear notice in your registration form and virtual waiting room letting people know the session will be recorded.
- Make a Live Announcement: At the very start of the webinar, say it out loud: "Just so everyone is aware, we are recording this session."
- Check Platform Settings: Some webinar tools have built-in consent features that automatically notify attendees when a recording begins.
This straightforward process covers your bases and builds trust with your audience by being upfront about how you're using their data and presence.
A great recording isn't just about good content; it's about good process. Delegating recording duties and securing consent beforehand are simple habits that prevent major headaches later on.
Optimizing the Q&A for On-Demand Viewing
The Q&A is often where the gold is—those unscripted, insightful moments that really connect with an audience. But it can be a real mess on a recording if you're not careful.
A huge mistake is reading questions silently from the chat and then answering them out loud. This leaves anyone watching the recording completely in the dark. They hear an answer but have no idea what the question was. It’s confusing and frustrating.
To make your Q&A valuable for everyone, always repeat the question before you answer it. For example, instead of just saying, "Yes, that's a great point," try this: "David asks if these strategies also apply to non-profit organizations. That's a great question, and the answer is yes…" This simple habit keeps the recording coherent and useful long after the live event. It transforms the Q&A from a confusing segment into a powerful, evergreen FAQ resource.
Got Questions About Webinar Recording? We've Got Answers.
Even with the best game plan, questions always come up when you start recording your webinars. Let's tackle some of the most common ones we hear from both hosts and attendees who are navigating the practical side of things.
Can an Attendee Record a Webinar?
In most cases, the answer is a firm no. Webinar platforms like AONMeetings are built to give recording permissions only to hosts and co-hosts. This isn’t just a technical limitation; it’s a critical feature designed to protect everyone’s privacy, safeguard intellectual property, and maintain control over the content.
If you’re an attendee and want a copy of the session, the best (and most ethical) thing to do is simply ask the host. The vast majority of presenters are more than happy to share a link to the official on-demand recording with everyone who registered.
What Is the Best File Format for a Webinar Recording?
Without a doubt, MP4 is the undisputed champion for webinar recordings. It hits that perfect sweet spot between high video quality and a manageable file size, which is exactly why it has become the universal standard.
Choosing MP4 means your recording will play nicely with pretty much every platform you can imagine:
- YouTube and Vimeo
- Social media sites like LinkedIn and Facebook
- Your own company website or learning portal
This is why most webinar software, including AONMeetings, defaults to exporting in MP4. It just makes life easier for everyone involved in post-production.
How Can I Improve My Audio Quality on a Budget?
You really don't need a professional studio to sound fantastic. The first step is to find a quiet, carpeted room if you can. Soft surfaces are your best friend because they absorb echo and give you a much cleaner, crisper sound.
The single biggest leap in audio quality comes from ditching your computer's built-in mic. A simple USB headset or microphone can make a massive difference and is a worthy, low-cost investment. Always perform a quick sound check to set your levels before going live.
What Happens if My Internet Fails During a Cloud Recording?
This is where cloud recording really shines. Since the entire recording process is happening on the platform's servers—not on your local computer—the recording continues uninterrupted.
If your personal connection drops, the system will keep capturing the audio, video, and screen shares from any other presenters who are still live. Once your internet is back, you can hop right back in without losing a second of the recording. It's a huge stress-reliever.
Ready to create flawless, high-quality webinar recordings without the technical headaches? AONMeetings provides a reliable, browser-based solution with built-in cloud recording, AI-powered summaries, and all the tools you need to turn your live events into lasting assets. Discover a smarter way to connect and record at https://aonmeetings.com.