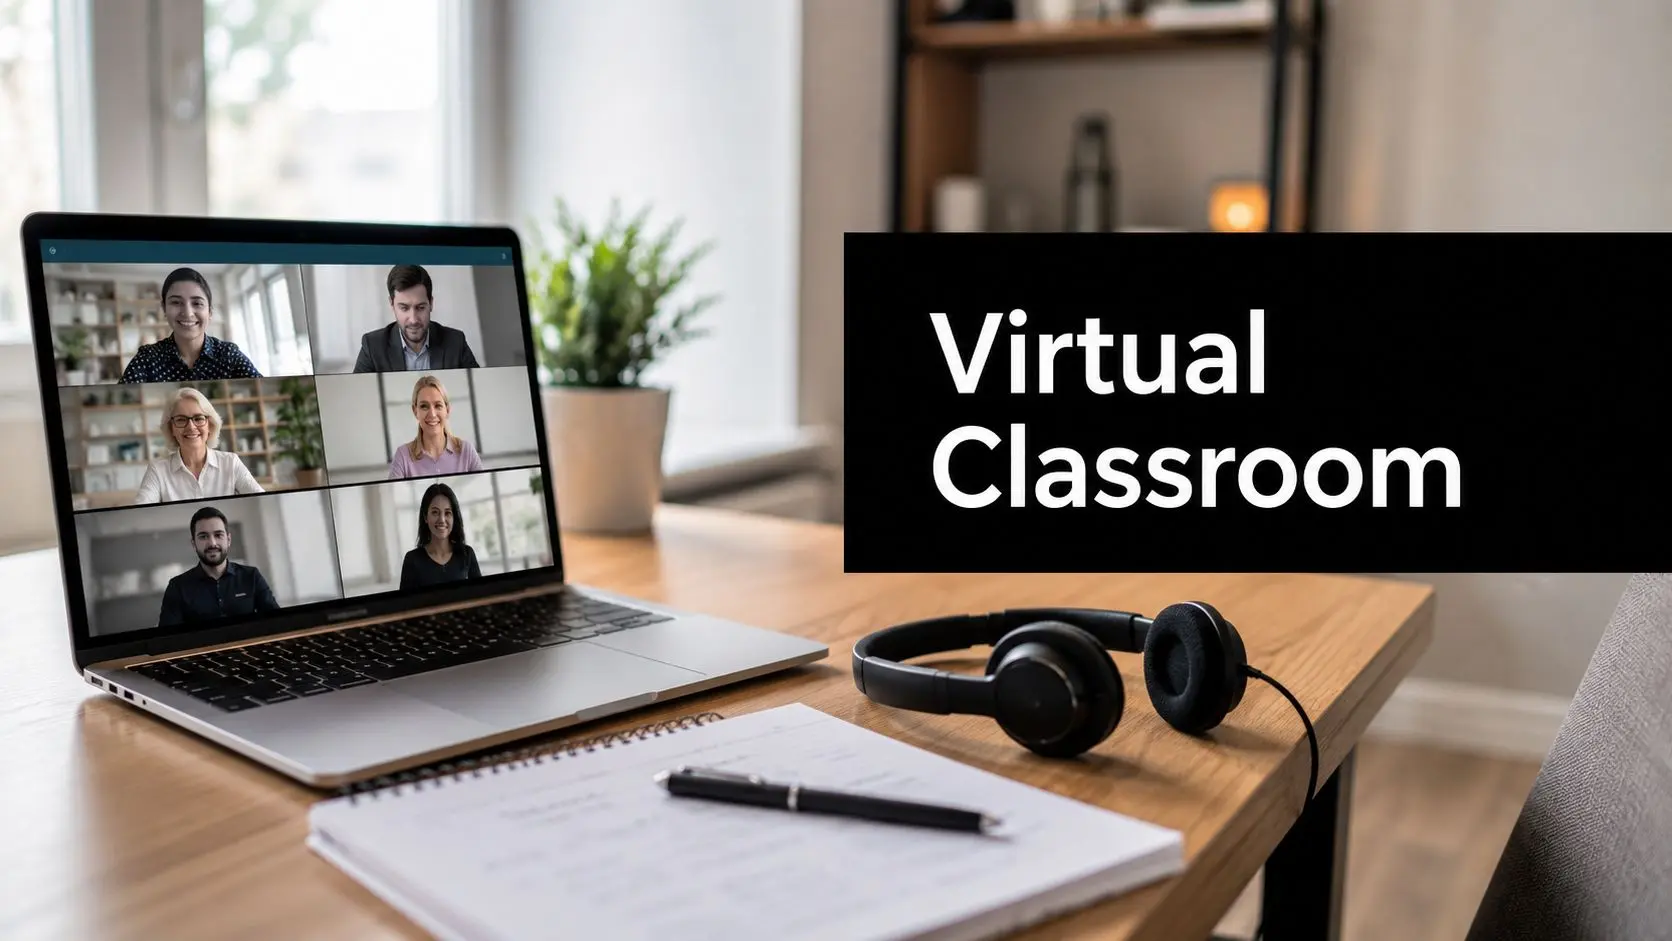
You've been asked to move a familiar course online, and the deadline is close. You open a video platform, create a meeting, copy the invitation, and assume the hard part is over. Then the questions arrive. Who can present? How will learners join from a phone? What happens when someone can't hear? How will you keep a class from turning into a long, silent presentation?
Setting up a virtual classroom is only half technical. The other half is instructional. A reliable rollout connects the platform, the teacher's workflow, and the learner's experience, so each decision supports the learning outcome rather than adding another tool to manage.
Why Setting Up a Virtual Classroom Feels Harder
A veteran classroom teacher may receive an email asking them to deliver last term's curriculum online within two weeks. They expect a software task, install an app, share a link, and teach. Instead, they encounter platform choices, security reviews, accessibility questions, calendar integration, recording rules, and pressure to keep learners engaged through a screen.

The difficulty usually isn't the meeting room itself. It's the need to coordinate three areas that institutions often handle separately:
- Instructional design: deciding what learners should do, practise, discuss, and demonstrate.
- IT administration: configuring access, permissions, integrations, security, and support.
- Learner support: preparing people for different devices, bandwidth conditions, accessibility needs, and levels of confidence with live online learning.
A physical classroom hides much of this work. Learners can see the teacher's board, ask a question without finding a button, and notice when classmates are confused. Online, those signals need deliberate substitutes. A teacher must decide how learners will ask for help, where materials live, how activities change, and what happens if audio or video fails.
Practical rule: Choose the teaching workflow before choosing the platform. A tool should make the intended learning experience easier to run.
Distance learning has a long history. The University of Chicago launched the first college-level distance learning program in 1892, followed by computer-assisted instruction in the 1960s, networked communication in the 1970s, and internet-based learning in the 1990s. By 1993, Jones International University had opened as the first completely internet-based higher education institution accredited by the Higher Learning Commission, according to this history of virtual classrooms. Today's virtual classroom is therefore the result of several infrastructure shifts, not a sudden replacement for the physical room.
The practical path is all-encompassing. Define the learning experience, build a dependable technical shell, prepare the instructor, and improve the class through evidence from real sessions.
Planning the Foundations Before You Touch Any Tool
Spend 20 minutes answering the questions below before creating an account. This short pause prevents a common mistake, choosing a platform first and then forcing the lesson into whatever the platform makes easy.

Start with one observable outcome
Write one sentence that describes what learners will be able to do after the session. “Cover the syllabus” isn't an outcome. “Learners will compare two approaches and justify which one fits a given situation” gives you a basis for choosing explanations, discussion prompts, and assessment activities.
Then identify the evidence you'll collect. A short poll may check recognition, while a shared whiteboard, case discussion, or learner demonstration can reveal whether someone can apply the idea.
Profile the people in the room
Record the audience's age range, device mix, likely bandwidth limits, language needs, accessibility requirements, and previous experience with live online classes. Don't assume that every learner has a laptop, a quiet workspace, a headset, or the same comfort with chat and breakout rooms.
If part of the course can happen asynchronously, consider resources that learners can revisit at their own pace. For example, teachers can create audio summaries of lectures to support review, accessibility, and learners who can't attend every live explanation.
Test platform fit against the lesson
Look for three basic matches:
- Access: Learners can join in a browser without unnecessary downloads.
- Structure: The platform supports the expected class size, breakout arrangement, participation tools, and recording needs.
- Connection: It works with the institution's LMS, calendar, authentication, and support processes.
A platform such as AONMeetings can be evaluated in this context because it supports browser-based joining, scheduling from a dashboard, and connections to calendar and LMS workflows. Before selecting it or another tool, review how learning management system features would fit your course's existing structure.
Platform choice should follow these answers. If learners need low-friction access and the lesson depends on small-group practice, a generic meeting room may create avoidable work. If the lesson is mostly a short live briefing with follow-up materials, a simpler setup may be sufficient.
Configuring the Technical Setup Step by Step
Create the host account with an institutional address rather than a personal one. That keeps ownership with the school or organization and makes staff changes easier to manage. Use role-based permissions next, giving co-hosts and backup facilitators enough access to admit learners, manage questions, share content, and handle interruptions without granting everyone administrative control.

Schedule the class as a recurring series from a consistent template. Attach calendar invitations and include a dial-in fallback where appropriate. For office hours, create a persistent room with a separate access policy, so learners know where to go without confusing drop-in support with the formal lesson.
Build a controlled entry experience
Configure the lobby or waiting room before sending invitations. Decide whether the host must approve every participant, whether authenticated users can enter automatically, and who can share a screen. For a class with sensitive material, use a passcode or authenticated sign-in and avoid posting the participant link in public channels.
Test the full sequence with a colleague. Ask them to join as a learner, wait for approval, send a chat message, request to speak, and attempt the activities from the device your audience is likely to use. Review the video conferencing bandwidth requirements before the live launch, especially if learners may connect from limited networks.
Connect the room to the course page
Embed a clear launch button inside the LMS course page. Learners shouldn't have to search old email threads for the correct URL. Place the meeting link beside the relevant module, add the session time in the learner's expected time zone, and provide a brief joining guide with audio, camera, and chat instructions.
Teachers comparing platforms often need to assess more than video quality. A practical resource on how to choose an online school can help frame questions about access, learner support, and technology fit.
The technical shell doesn't need to be perfect before the first rehearsal. It needs to be repeatable, understandable to a backup facilitator, and easy for learners to enter.
Designing Engagement That Holds Attention
A virtual lesson can lose learners while the teacher is still explaining the first idea. Design the session as a sequence of short learning cycles. Introduce one concept, give learners a task, inspect their responses, then clarify what those responses reveal.
The CIPD evidence review on effective virtual classrooms recommends changing modalities every 3–5 minutes, rather than maintaining the longer presentation rhythm common in physical classrooms. The aim is not constant activity. Learners need regular chances to think, respond, practise, and compare their reasoning.

Match each tool to a learning purpose
Choose the interaction before choosing the feature. Use chat for quick retrieval, polls for an immediate understanding check, and a whiteboard when learners need to map relationships or show their working. Reactions and virtual hand-raising offer quieter signals from learners who are not ready to speak.
Breakout rooms work like small workshops, so each group needs a clear brief:
- A specific deliverable: a decision, explanation, ranking, draft, or solved example.
- A clear time limit: tell learners when they will return.
- Assigned roles: a facilitator keeps discussion moving, a recorder captures the work, and a presenter reports back.
Without those instructions, groups may fall silent or drift away from the lesson. Provide typed questions and anonymous polls for learners who prefer not to speak publicly. Vary how contributions are shared so participation does not always expose an individual to the whole class.
Monitor the room while you teach
Keep the participant list and chat visible when your screen allows it. Watch for repeated questions, long silences, dominant voices, and learners who seem to have missed an instruction. If one person answers every prompt, invite another perspective without putting them on the spot. After a difficult explanation, pause and ask learners to identify the step that remains unclear.
Review your routines alongside the platform controls. Kuraplan's guide to classroom strategies offers prompts for setting expectations and responding consistently, while these approaches to online classroom management can help structure participation.
Test every activity on a learner device before class, including screen sharing, annotation, polling, and breakout access. After the session, review participation patterns and learner feedback. The strongest activity is the one that helps learners think, practise, and connect the session with its stated outcome.
The Hidden Bottleneck Nobody Talks About
The platform rarely determines whether a virtual classroom succeeds. Instructor readiness matters more because the teacher must explain content, monitor participation, read chat, manage timing, respond to access problems, and check understanding at the same time.
A 2025 Irish classroom study reported that 83% of surveyed teachers felt they hadn't received adequate training to use technology and AI tools effectively. The same source reported that 67% of slower-adopting schools cited insufficient training as a major barrier, compared with 32% of faster-adopting schools, as described in Microsoft's report on digital technologies and AI in Irish classrooms. These figures point to a capability problem, not a missing-feature problem.
Separate access from readiness
| Technology Provision | Required Instructor Capability |
|---|---|
| A host account and meeting link | Create a clear opening routine and participation expectations |
| Camera, microphone, and screen sharing | Speak naturally to the camera while sharing only the correct content |
| Chat and participant controls | Read questions, notice confusion, and redirect discussion |
| Breakout rooms | Give concise instructions, assign roles, monitor groups, and debrief the work |
| Recording and storage | Explain consent, check access, and use recordings appropriately |
| LMS integration | Guide learners to the correct course location and troubleshoot entry problems |
A software tour won't build these skills. Teachers need short, role-specific practice sessions that include camera delivery, window sharing, late admission, breakout management, and recovery from audio or access failure.
Training standard: Give each new facilitator a checklist, a rehearsal with a colleague, and a named support contact. Observe one live class and provide feedback on pacing, clarity, accessibility, and interaction.
Experienced teachers may need advanced coaching rather than basic navigation. Ask them to review participation patterns, compare activity types, and revise the next lesson based on learner evidence. A reliable classroom platform reduces operational friction, but it can't replace rehearsal or sound session design.
Securing Sessions and Managing Recordings
Security decisions belong in the initial setup, not after the first unexpected attendee appears. Decide whether learners must register, sign in through an approved account, wait for admission, or use a unique access link. Don't publish attendee links in public spaces or reuse an access method that gives former participants unnecessary entry.
Assign roles carefully. A host may manage the room, a co-host may admit participants, a moderator may manage questions, and a presenter may share content. Most learners only need participant permissions. Limiting access reduces accidental changes and makes responsibility clear when something goes wrong.
Test the controls before inviting the class
Run a private test of the waiting room, participant mute controls, screen-sharing restrictions, host transfer, chat permissions, and recording behavior. Ask a colleague to test the experience from a separate account. Check what a learner can see, whether a late arrival can enter, and whether the facilitator can continue if the primary host loses connection.
For sensitive or regulated teaching, use a passcode or authenticated sign-in and confirm that only intended participants can join. The medical-education review on effective videoconferencing practices also recommends front-facing lighting, avoiding a bright window behind the speaker, and using HD video or a neutral background to reduce visual distraction.
Write a recording policy learners can understand
Before recording, explain when recording occurs, who can view it, how long it will remain available, and whether chat, shared files, or participant video are captured. If privacy affects participation, provide a non-recording alternative where policy permits.
Store recordings in the approved LMS or protected institutional account, not a personal drive. Apply course or role-based viewing permissions, use descriptive filenames, and assign deletion dates. Protect administrator accounts with strong authentication, limit downloads, and review attendance and access logs after each session.
Predictable rules protect trust. Learners should know what will happen before they join, and staff should follow the same process for every class.
Your Launch Checklist and What Comes Next
Treat the first delivery as a controlled test of the whole learning system. A simple readiness checklist can keep technical, instructional, and support tasks visible without turning launch day into improvisation.
Before class
- Permissions: Confirm the host, co-host, presenter, and backup roles.
- Learner access: Test the launch path from the LMS on the device learners will use.
- Audio and video: Check microphone, camera, lighting, screen sharing, and captions where available.
- Materials: Open slides, polls, whiteboards, breakout instructions, and resources before learners arrive.
- Safety: Confirm waiting-room, passcode, recording, storage, and participant-control settings.
- Rehearsal: Run the lesson with a colleague and practise the recovery plan for lost audio or access.
During class
Start by stating the outcome, participation options, recording status, and help process. Keep the first activity simple, so learners practise the room's controls before the lesson becomes demanding.
Change activity types every 3–5 minutes, using the practical benchmark described in the CIPD evidence review. Listen for confusion, not just silence. A quiet class may indicate concentration, uncertainty, access trouble, or reluctance to speak.
After class
Review attendance, poll responses, chat patterns, learner questions, and technical incidents. Identify one activity to keep, one instruction to rewrite, and one support issue to resolve before the next session. This turns each delivery into a feedback loop rather than a one-time launch.
Virtual teaching will continue to develop through analytics dashboards, AI-assisted moderation, and hybrid classroom models. Those tools will help only when teachers use them to support clear outcomes and purposeful interaction. Build the habits first, then add capabilities that solve a demonstrated need.
AONMeetings provides browser-based meetings and webinars with tools relevant to virtual classrooms, including screen sharing, whiteboards, polling, breakout rooms, recordings, and moderator controls. Visit AONMeetings to review how its classroom workflow could support your next rehearsal, launch, and improvement cycle.