
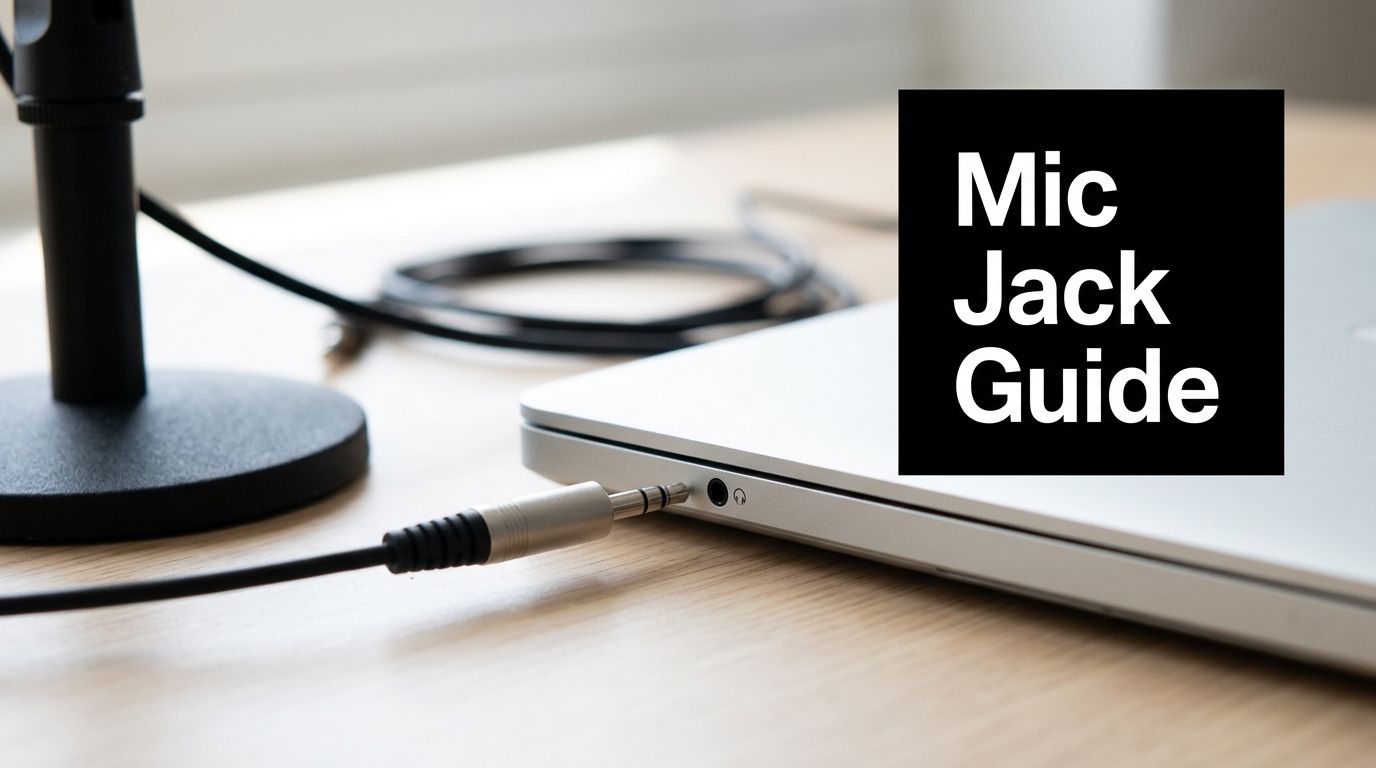
You join a call, plug in your headset, and the speakers work. Then someone says, “We can't hear you.”
That moment is why the tiny audio jack causes so much confusion. It looks simple, but a microphone connection can fail for several different reasons. The plug might fit physically but still be wired the wrong way. The port might accept sound out but not sound in. Or the device might be expecting a stronger signal than your microphone can provide.
That confusion got worse as manufacturers moved away from the familiar 3.5mm port. The shift accelerated in September 2016, when Apple removed the jack from the iPhone 7, helping push the industry toward wireless audio, yet wired gear still matters because the global microphone market generated $3.63 billion in 2023 according to microphone market data. If you want a quick first check before changing cables or buying adapters, use a simple microphone test guide to confirm whether your device detects any input at all.
Why Your Microphone Is Not Working
A dead mic usually isn't one mystery problem. It's one of a few very specific mismatches.
A common example is the single headset jack on a laptop. You plug in earbuds with a built-in mic, hear the meeting audio perfectly, and assume everything is connected correctly. But if the plug or port isn't designed to carry microphone input, the device only handles listening. Speaking never reaches the computer.
Another frequent problem is older hardware. A desktop PC may have separate ports for speakers and microphone, while your headset has one combined plug. In that case, the headset isn't broken. The computer and headset are speaking different connection “languages.”
Practical rule: If the headphones work but the mic doesn't, don't start by blaming the microphone capsule. Start by checking the plug type, the port type, and whether the device expects a combined or split connection.
The three failure points most people miss
- The wrong plug standard. Some plugs carry only headphone audio, while others carry headphone audio and microphone audio together.
- The wrong port. A headphone output jack can look almost identical to a headset combo jack.
- The wrong electrical expectation. Some inputs expect a microphone-level signal. Others expect line-level audio, which is much stronger.
When you understand those three points, troubleshooting gets easier. You stop buying random adapters and start identifying the exact incompatibility.
What success looks like
A working setup has three pieces aligned:
- The plug has the contacts needed for a mic.
- The device port accepts microphone input on those contacts.
- The signal level matches what the input expects.
Once those line up, most microphone issues disappear quickly.
The Anatomy of a Microphone Audio Jack
The easiest way to understand an audio jack for microphone use is to look at the metal sections on the plug.
A standard headphone plug usually has three conductors. That's called TRS, which stands for Tip, Ring, Sleeve. A headset plug that supports both listening and speaking usually has four conductors. That's called TRRS, or Tip, Ring, Ring, Sleeve.
The fast visual test is simple. Count the black insulating bands. Two bands usually means TRS. Three bands usually means TRRS.

Why the extra band matters
Think of the plug like a road.
A TRS plug is like a road with enough lanes for left audio, right audio, and a shared return path. That's fine for headphones. You can hear stereo sound, but there's no separate path available for your voice to travel back into the device.
A TRRS plug adds one more electrical contact. That extra contact is what makes microphone input possible. The third insulating band is the visible clue that the plug can handle both listening and speaking. The 3.5mm microphone-enabled format relies on this TRRS design, which became widely popular after the Sony Walkman helped establish the 3.5mm mini-jack as a mass-market standard in 1979, as described in this history of the headphone jack.
What each part does
Here's the practical idea behind the conductors in a typical headset connection:
| Plug type | Conductors | Usual job |
|---|---|---|
| TRS | Tip, Ring, Sleeve | Headphone audio out, or in some cases a simple mono mic connection |
| TRRS | Tip, Ring 1, Ring 2, Sleeve | Left audio, right audio, ground, and microphone |
For a headset, the fourth conductor is what lets one small port do two jobs at once.
If you only remember one thing from this section, remember this. A plug can fit physically and still lack the extra contact needed for microphone input.
The confusion with combo ports
Modern laptops often use a single combo jack. It accepts one 3.5mm plug for headphones and microphone together. That's convenient, but it also hides the distinction. People see one hole and assume any 3.5mm plug will support every function.
It won't.
A headphone-only TRS plug often works for audio output in a combo port, but the mic side remains silent because the plug does not provide the contact needed for microphone input.
A Guide to Common Microphone Connectors
You buy a microphone, the plug looks familiar, and it still refuses to work with your laptop or phone. In many cases, the problem is not the microphone itself. The connector may fit physically while sending the wrong kind of signal, or using contacts your device does not read the same way.
That is why connector type matters. The shape of the plug is only part of the story. The other part is what electrical job that connector was designed to do.

If you are choosing gear for staff, huddle rooms, or home offices, this video conferencing equipment guide can help you match microphones to the devices people use.
3.5mm connectors
The 3.5mm plug is the connector many office users know best. It shows up on headsets, clip-on mics, small desktop microphones, and older phones and laptops.
It is also the connector that causes the most confusion.
Two plugs can both be 3.5mm and still behave differently. One may be TRS, with three conductors, while another is TRRS, with four. A headset mic may also follow CTIA or OMTP wiring. Those standards swap the microphone and ground contacts. The result is frustratingly simple. The plug goes in, audio output may work, but the microphone stays dead or sounds wrong because the device is listening on the wrong contact.
XLR connectors
XLR is the standard connector for professional microphones. It is larger, locks into place, and is made for repeated use in conference rooms, studios, and live events.
XLR usually carries a balanced mic-level signal. That helps reject electrical noise over longer cable runs. A laptop headset jack is built for a very different job, so an XLR microphone usually cannot plug straight in and work. It often needs an audio interface, mixer, or recorder to convert that low-level microphone signal into something the computer can use.
If your goal is dependable speech pickup in a meeting space, XLR often appears in systems supplied by teams like London AV Hire for clear sound.
USB microphones
USB microphones solve a different problem. Instead of sending raw analog audio through a jack, they convert the sound to digital inside the microphone and send it over USB.
That bypasses many of the wiring problems that affect 3.5mm and XLR setups. There is no CTIA versus OMTP issue, and no guesswork about mic level versus line level at the computer's analog port. For laptop-based calls, webinars, and simple desk setups, USB is often the easiest choice because the microphone includes its own mini audio interface.
1/4-inch connectors
The 6.35mm, or 1/4-inch, connector is common on mixers, musical instruments, and some audio interfaces. It is larger and more durable than a 3.5mm plug, which makes it a good fit for equipment that gets connected and disconnected often.
Here again, size does not tell the full story. A 1/4-inch connection might carry an instrument signal, a line-level signal, a headphone output, or a microphone signal depending on the gear. That is why a simple size adapter does not always fix the problem. If the signal level is wrong, the result can be silence, distortion, or very low volume.
A larger plug does not automatically mean better audio. It usually means different equipment, different signal expectations, and a stronger physical connector.
A quick comparison
- Choose 3.5mm for consumer headsets, some lavalier mics, and devices with headset-style mic input
- Choose USB for direct computer use when you want to avoid analog wiring issues
- Choose XLR for conference rooms, studio microphones, and setups that use mixers or audio interfaces
- Choose 1/4-inch for audio gear such as mixers, instruments, and interfaces where the device clearly expects that connection
The practical rule is simple. Match the connector, the wiring standard, and the signal level to the device. Once you understand why plugs fail, choosing the right microphone becomes much easier.
How to Connect Your Microphone to Any Device
The physical connection matters, but the correct path depends on the device in front of you. A laptop, older desktop, and smartphone may all accept audio differently even when the plug size looks familiar.

Connecting to a modern laptop
Many recent laptops have a single combo headset jack. That port is designed for a TRRS headset with both headphones and microphone on one plug.
If your headset has one 3.5mm plug with three insulating bands, connect it directly. If your microphone and headphones are split into two separate plugs, you usually need a dual-TRS-to-TRRS adapter so the laptop can receive both signals through the combo port.
A common mistake is plugging separate pink and green leads into a passive splitter that doesn't match the laptop's expectation. The result is often one-way audio.
Connecting to an older desktop PC
Older desktops often have separate jacks:
- Pink usually means microphone input
- Green usually means headphone or speaker output
- Blue often means line input
If your headset has a single TRRS plug, you'll usually need a TRRS-to-dual-TRS splitter that breaks the headset into separate headphone and microphone plugs.
Connecting to phones and tablets
Some phones still accept a 3.5mm headset plug. Others require USB-C, Lightning, or a dedicated adapter.
The important question isn't just “Will it plug in?” It's “Does this adapter preserve microphone input?” Some adapters only support headphone audio. If you need voice input for calls or recording, check that the adapter supports a headset connection rather than output only.
Why AUX and Line In often fail
This is one of the biggest sources of confusion. An AUX or LINE IN port expects a stronger, pre-amplified signal. A microphone produces a weaker mic-level signal. If you connect a mic directly to a line input, you'll usually get near-silence or weak, unusable audio because the port doesn't add the gain the microphone needs. This problem shows up often because 68% of consumer laptops and smartphones lack separate mic jacks, pushing users toward combo ports and workarounds, according to this guide to AUX and 3.5mm audio ports.
If you're building a room setup and want examples of practical sound reinforcement choices, London AV Hire for clear sound offers useful context on matching microphones with the right amplification path.
Quick diagnosis: If the mic is detected but the volume is extremely low, suspect a mic-level versus line-level mismatch before you replace the microphone.
Troubleshooting Common Microphone Jack Problems
You join a call, your headphones play everyone clearly, and your microphone acts like it does not exist. That usually points to a mismatch in how the jack is wired or what kind of signal the device expects.

Swapping adapters at random rarely fixes this for long. A better approach is to identify what failed: the contact layout, the signal level, or the physical connection.
Symptom one: the mic is completely dead
Start with the plug format. If the headset has three black bands, it is usually a TRRS plug, which can carry left audio, right audio, ground, and microphone. The confusing part is that two devices can both use TRRS and still disagree on where the microphone contact belongs.
The two common layouts are CTIA and OMTP. They look identical from the outside. Inside, the microphone and ground positions are swapped. A simple way to picture it is a key cut for the right lock shape but the wrong internal pattern. The plug fits, but the electrical contacts line up incorrectly, so the mic never reaches the device.
That is why a headset can work perfectly on one phone, then fail on a laptop or older adapter.
Symptom two: the mic is detected, but the audio is weak or noisy
This often means the device can "see" something connected, but it is receiving the wrong kind of signal or a poor connection.
Common causes include:
- The plug is not fully seated. A half-inserted plug can leave the mic contact floating or connected to the wrong ring.
- The adapter only changes the shape. Some adapters split or convert the plug size but do not correct CTIA versus OMTP wiring.
- The port expects a different signal level. A mic-level signal is much quieter than line level, so the result can be faint audio or heavy noise.
- The cable is damaged near the plug. Repeated bending can break one internal conductor while the headphones still seem to work.
If sound is faint, distorted, or full of hiss, suspect a mismatch before assuming the microphone itself is bad.
A practical troubleshooting sequence
Use this order. It saves time.
| Symptom | Most likely cause | Best next step |
|---|---|---|
| Headphones work, mic doesn't | TRS plug in a headset port, or wrong splitter | Count the bands on the plug and confirm the adapter supports microphone input |
| Mic works on one device only | CTIA and OMTP mismatch | Test with a CTIA/OMTP-compatible adapter |
| Mic is very quiet | Mic plugged into line input, or insufficient gain | Move to a proper mic input, USB audio adapter, or interface with mic gain |
| Crackling or intermittent sound | Plug not seated, worn cable, dirty jack | Reinsert the plug firmly and test with another headset or cable |
One more check helps in conference setups. If the mic is working but callers still complain, the jack may not be the main problem anymore. Room echo, laptop fans, and keyboard noise can overwhelm a correctly connected microphone. A short guide on how to eliminate background noise in meetings can help you separate connection problems from sound quality problems.
When to stop troubleshooting and change the connection path
If you have tested the headset, the adapter, and the jack, and the result still changes from device to device, bypassing the analog jack is often the faster fix. A USB audio adapter or USB microphone skips several failure points at once, including worn jacks, pinout mismatches, and weak onboard mic inputs.
That is especially useful in offices with mixed hardware, older docking stations, or shared conference gear. For teams comparing room audio options beyond headsets, 1021 Events' speaker guide gives useful context on choosing playback equipment that supports clear speech in group settings.
Ensuring Crystal-Clear Audio for Conference Calls
Reliable conference audio comes from a short chain of checks, not from luck.
First, confirm the hardware path. If you're using a headset on a combo jack, make sure it's a TRRS connection or that you're using the correct adapter. A standard TRS headset plug doesn't have the fourth conductor needed to carry microphone input, so the result can be zero audio input on conferencing setups that expect bidirectional headset audio, as described in this audio jack tutorial.
Then check the software side. In your browser or meeting app, select the correct microphone input, confirm the browser has permission to use the mic, and test your speaking volume before the meeting begins.
A simple pre-call checklist
- Verify the physical path. Check that the plug is fully inserted and the adapter matches your device type.
- Choose the right input. Many computers list several microphones. Select the headset or external mic you connected.
- Run a short test. Speak at normal volume and confirm the input meter moves.
- Reduce room noise. Turn off nearby fans, move away from speakers, and avoid resting the cable against power bricks or other electronics.
If you're improving spoken audio for events as well as meetings, 1021 Events' speaker guide is a useful example of thinking through clarity, room coverage, and voice intelligibility. For day-to-day meetings, this background noise reduction guide helps with the final step after you've solved the jack and adapter issues.
Clear conferencing audio isn't just a microphone problem. It's the result of a correct connector, the right input selection, and a quiet environment.
If you want a meeting platform that keeps setup simple once your audio is working, AONMeetings gives teams a browser-based way to host secure video conferences and webinars without installing extra software. It's a practical fit for organizations that want dependable meetings, straightforward controls, and fewer technical hurdles for everyday users.