
Nothing derails a video call faster than a microphone that refuses to cooperate. Before you can fix the problem, you need to figure out what's actually wrong. Is it muted? Unplugged? Or is there a more complex software setting causing the silence?
This section will help you quickly get to the root of your audio issues before you jump into your next AONMeetings call.
Diagnosing Common Microphone Problems
When your mic suddenly goes quiet, the culprit is usually one of a few usual suspects. Instead of randomly clicking through every setting you can find, a quick, methodical check will save you a ton of time and frustration. The most common issues I see range from simple hardware problems, like a loose cable, to hidden software permissions that are blocking your audio without you even realizing it.
Think of this as your initial triage. By checking the most likely issues first, you can often find a fix in just a few seconds. This keeps you from diving deep into complex driver updates when all you really needed to do was unmute your device.
Start with a Visual Inspection
The first step is always the simplest: look at your physical setup. It's surprising how often the problem is right in front of us.
The infographic below walks you through a basic diagnostic flow, starting with the most fundamental physical checks before moving into the software side of things.

This visual guide is a great reminder to always start with your hardware. Is it plugged in? Is the physical mute button on? Answering these simple questions can solve the problem more often than not.
Quick Microphone Problem Diagnosis Checklist
Sometimes you just need a quick reference to point you in the right direction. Use this table to match your specific issue with its most likely cause and a simple fix to try before you dig any deeper.
| Symptom | Most Likely Cause | Quick Fix to Try |
|---|---|---|
| No sound at all | Muted in software or hardware | Check for a mute icon in AONMeetings and look for a physical mute button on your mic/headset. |
| Audio is choppy or distorted | Poor internet connection or background app interference | Close unnecessary browser tabs and applications. Move closer to your Wi-Fi router. |
| Others hear an echo | Audio output is feeding back into the mic | Use headphones instead of speakers. Ask others on the call to mute when they aren't speaking. |
| Volume is very low | Incorrect microphone selected or low input volume | In your system's sound settings, make sure the correct mic is selected and turn up the input volume. |
This checklist is your first line of defense. If these quick fixes don't resolve the issue, it’s time to move on to more detailed troubleshooting in your system settings.
It’s no surprise that reliable audio is more important than ever. The global microphone market has seen huge growth, recently expanding from USD 8.60 billion to USD 10.50 billion, largely because of the boom in remote work and online learning. This growth just shows why knowing how to test my microphone is a fundamental skill for anyone communicating online. You can find more on these trends at marketreportanalytics.com.
A working microphone isn't just a piece of tech; it's a key part of your professional credibility. Taking a moment to check it before a call ensures your message comes through loud and clear, preventing technical hiccups from derailing an important conversation.
Keep in mind that many audio issues are connected to video problems. For a more comprehensive look at common conferencing glitches, take a look at our guide on fixing your top video call problems for good. The solutions in there can often solve stubborn audio troubles at the same time.
The Fastest Way to Test Your Mic Online
When you're minutes away from an AONMeetings call and need to know if your mic is working, the last thing you want to do is dig through complicated system settings. The quickest route is always a simple, browser-based test.
I make this my first stop anytime I suspect a mic issue. These online tools give you an instant "yes" or "no" on whether your hardware is picking up sound, helping you figure out if the problem is with the microphone itself or the software you’re trying to use.
With microphones now built into everything from our laptops to smart speakers, quick functionality checks have become routine. The global microphone market is already valued at USD 7.21 billion and is still growing, which tells you just how central this tech is to our daily lives. If you're interested in the data behind this trend, you can dig into the full research about the microphone market.
Granting Browser Permissions
The most common snag you'll hit with an online mic test is browser permissions. For your privacy, browsers like Chrome and Firefox won’t let any website listen in without your explicit say-so.
When you land on a testing site, a pop-up will usually appear asking you to "Allow" or "Block" microphone access. You have to hit "Allow" for the test to run. If you accidentally click "Block," don't worry—just refresh the page and it should ask you again.
A quick tip from experience: If you don’t see a pop-up, check your browser's address bar. You'll often find a tiny microphone or camera icon there. Clicking it usually reveals the blocked permission request, letting you grant access right from the address bar.
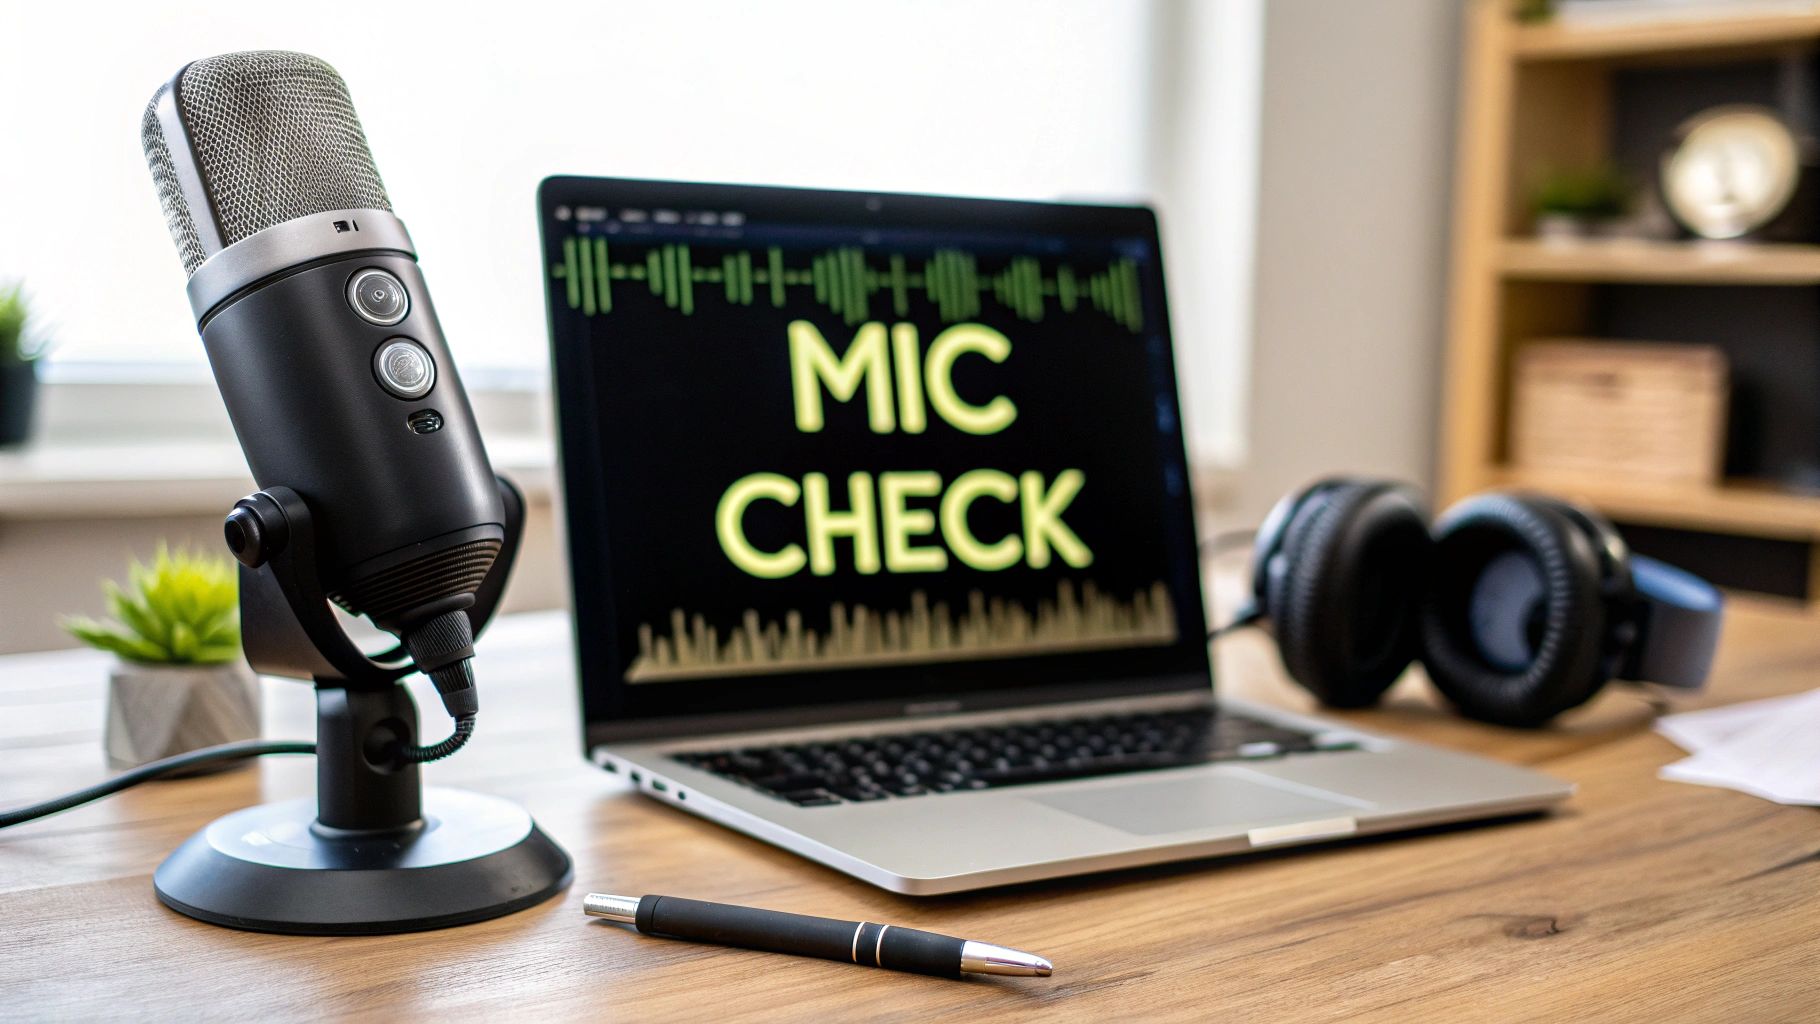
Interpreting the Visual Feedback
Once you’ve granted permission, the fun part begins. The online tool will start listening and give you some kind of visual feedback. Most of them use a live audio wave or a moving bar that jumps around in response to sound.
The image below is a classic example of what a working mic looks like in action—a dynamic waveform that dances as you speak.

If you see that line moving when you talk, great news! Your microphone hardware is working just fine. The problem is almost certainly somewhere in your operating system or application-specific settings, which we'll get into next.
But what if the line stays flat and dead? That points to a deeper issue. It could mean a few things:
- Your mic is physically disconnected, muted, or broken.
- The browser or the testing site has the wrong input device selected.
- A driver or system-level problem is blocking the browser from seeing the mic at all.
This simple online check is incredibly effective at narrowing down the possibilities. It saves you from wasting time on the wrong fixes and points you directly toward the right troubleshooting path.
Diving Into Your Windows and macOS Audio Settings
So, the online test showed a flat line. Don't sweat it. Nine times out of ten, the problem is buried in your computer's audio settings—the main control panel for every sound device you own. Before you get too deep into troubleshooting, this is the next logical place to look, especially before a big AONMeetings call.
This is where you'll catch the most common slip-ups: your mic might be disabled, the volume set way too low, or it’s not even selected as your main input device. Every operating system tucks these settings away in a different spot, so I'll walk you through it for both Windows and macOS.
Knowing your way around these menus is a non-negotiable skill now that remote work is the norm. In the United States, over 60% of companies are running on hybrid or fully remote models, which makes having dependable audio a true professional necessity. It’s no surprise the global microphone market is growing so fast; it's a clear sign of just how much we all rely on clear, crisp sound. You can get more insights about the global microphone market and its growth here.
Checking Your Microphone on Windows
For anyone on a Windows machine, the Sound control panel is where you need to be. It's easy to get to and gives you a bird's-eye view of all your input devices.
- Get to your Sound Settings: Find the speaker icon in your taskbar (it's usually down by the clock). Right-click it and choose "Sound settings."
- Find your mic: A new window will pop up. Scroll down until you see the "Input" section. There’s a dropdown menu here—make sure your microphone is the one selected. Your built-in mic might show up as "Microphone Array," while an external one will usually have its brand name.
- Test it out: Right below that dropdown, you’ll see a "Test your microphone" meter. Start talking. If you see the blue bar moving, Windows is picking up your voice. If the bar is barely budging, crank up the "Volume" slider right underneath it.
One of the most common mistakes I see is people having the right mic plugged in but the wrong one selected. If you have a webcam with a built-in mic plus a separate headset, Windows sometimes defaults to the webcam. Always, always double-check that your primary device is actually chosen here.
Verifying Your Mic on macOS
The process on a Mac is just as straightforward, though the menus have a different look and feel. Everything you need is tucked away in System Settings.
- Open Sound Preferences: Click the Apple logo in the top-left corner of your screen, head to "System Settings," and then click on "Sound."
- Go to the Input Tab: Look at the top of the Sound window and click the "Input" tab. You'll get a list of every microphone your Mac can see.
- Pick your device and test: Click on the mic you want to use. As you talk, the "Input level" meter should light up with blue bars.
- Turn it up: If the level looks low, just drag the "Input volume" slider to the right. That’ll make you louder and clearer.
If that meter still isn't moving on either Windows or macOS, you’ve confirmed the problem is deeper than a simple setting in your browser or meeting app. This usually points to a driver issue or, in some cases, a hardware problem. We’ll get into that next.
So, Your Mic Still Isn't Working?
You’ve already checked the basics in your system settings, and those online mic tests are still coming back with crickets. When this happens, it's time to roll up our sleeves and dig a little deeper. Don't worry—these next steps sound more technical than they really are.
Stubborn microphone problems usually trace back to something less obvious, like a cranky software driver or a hidden app permission. We’re going to walk through this methodically, first ruling out software culprits before turning our attention to the hardware. This approach is the fastest way to figure out if the problem is with your computer or the mic itself.
Give Your Audio Drivers a Refresh
Think of your audio drivers as the translator between your microphone and your computer. If that translator is using an old, outdated dictionary (or is just corrupted), your computer has no idea how to listen to your mic, even if the hardware is working perfectly. This is a surprisingly common fix, and it's easier than it sounds.
First, try a simple update.
- On a Windows machine, search for Device Manager in your Start Menu.
- Find and expand the "Audio inputs and outputs" section.
- Right-click on your microphone in the list and choose "Update driver."
If an update doesn't do the trick, the driver file itself might be the problem. In that same right-click menu, select "Uninstall device." Don't panic! Just unplug your mic, give your computer a quick restart, and then plug it back in. Windows will automatically find and install a fresh, clean driver for it.
Pro Tip: Before you go through the hassle of reinstalling drivers, try plugging your mic into a different USB port. I've seen it happen more than once—a faulty port can make a perfectly good microphone seem completely dead. It’s a simple swap that can save you a ton of time.
Is It the Mic or the Machine?
If you've tried the software fixes and are still met with silence, it’s time to isolate the real source of the problem. Is it your microphone that's given up, or is something going on with your computer?
The quickest way to get an answer is to test the microphone on a completely different computer. Borrow a friend's laptop or use another device in your home.
If you plug it into another machine and it works right away, you know the issue is with your original computer's settings. But if the mic still doesn't work on a different device, you've confirmed it—the microphone hardware is likely the culprit.
Check Your App-Specific Permissions
Here's one last thing to check that trips a lot of people up. Modern operating systems are big on privacy, which means you often have to grant microphone access on an app-by-app basis.
Even if your system recognizes the mic, an app like AONMeetings could be blocked from actually using it. Dive into your computer’s privacy settings (usually under a "Microphone" section) and make sure the specific application you're trying to use has been given the green light.
And while you're getting your audio just right, a common follow-up issue is echo. Take a look at our guide on how to stop echo in a room to ensure your sound is crystal clear for everyone on the call.
Achieving Crystal-Clear Audio Quality

Alright, so your mic is working—that’s the first hurdle cleared. Now, let’s move past just making it work and focus on making it sound great. There’s a big difference between audio that’s simply functional and sound that’s impressively clear. A few small tweaks are often all it takes to elevate your audio from audible to professional.
One of the quickest and most effective changes you can make is your microphone placement. Try positioning it about 4-6 inches from your mouth, but slightly off to the side. This simple adjustment prevents those harsh popping sounds from "p" and "b" consonants (plosives) while ensuring your voice stays front and center.
Of course, background noise is the enemy of clear audio. You don’t need a soundproof studio; often, just closing a window, turning off a desk fan, or moving away from a humming appliance can make a massive difference.
The single best way to eliminate echo and feedback is to use headphones. By preventing your microphone from picking up the sound from your speakers, you instantly create a cleaner audio loop for everyone on the call.
Getting the hang of high-quality audio in video conferencing is a game-changer for professional communication. It goes beyond simple troubleshooting and into mastering your sound. If you’re serious about taking your audio quality to the next level, checking out these 10 essential voiceover tips for creating professional quality audio will give you some incredibly valuable techniques to try.
Troubleshooting Common Mic Test Scenarios
Even when you follow all the right steps, microphones can be tricky. Sometimes you hit a weird, specific snag that isn't covered in a standard checklist. Let's walk through a couple of the most common—and frankly, most frustrating—issues people run into when testing their mics.
"My Audio Meter Is Bouncing, but No One Can Hear Me!"
Ah, the classic. This is probably the single most common issue we see, and it almost always points to an output problem, not an input one. Seeing that meter move is a great sign; it means your computer is definitely picking up your voice. The signal is getting in, but it's not getting out to the right place.
Your first move should be to check with the other people on the call. The problem is very likely on their end. Ask them to double-check their own system settings and make sure their speakers or headphones are selected as the audio output device.
However, don't rule out your own setup just yet. Sometimes, an application like AONMeetings might have a mind of its own and select a different mic than your system's default. It’s always worth a quick look inside the in-app audio settings to confirm it's using the microphone you think it is.
"How Do I Make Sure My Headset Mic Is the One Being Tested?"
Testing a headset microphone is the same general process, but there's one extra step that's absolutely critical: you have to tell your computer to prioritize it.
As soon as you plug in your headset, dive into your sound settings on Windows or macOS. You’ll see a list of available input devices—find your headset by its brand name and click to select it. Once you do, the audio meter right there in the settings should start jumping when you speak.
A quick pro tip: If that meter stays completely flat after you've selected the headset, the problem is probably with the headset itself or the physical connection. Before you assume the hardware is dead, try plugging it into a different USB port. You'd be surprised how often a fussy port is the real culprit.
Ready to join every call with confidence? AONMeetings delivers a seamless, browser-based video conferencing experience where you never have to second-guess if your voice is being heard. Start your crystal-clear meeting today.